Welcome to the quick start guide of the restdb.io online cloud database. restdb.io has many uses ranging from use as a serverless web/app backend to managing business data and content.
To get started you first need to sign up for a new account.
This quick start guide will show you how to:
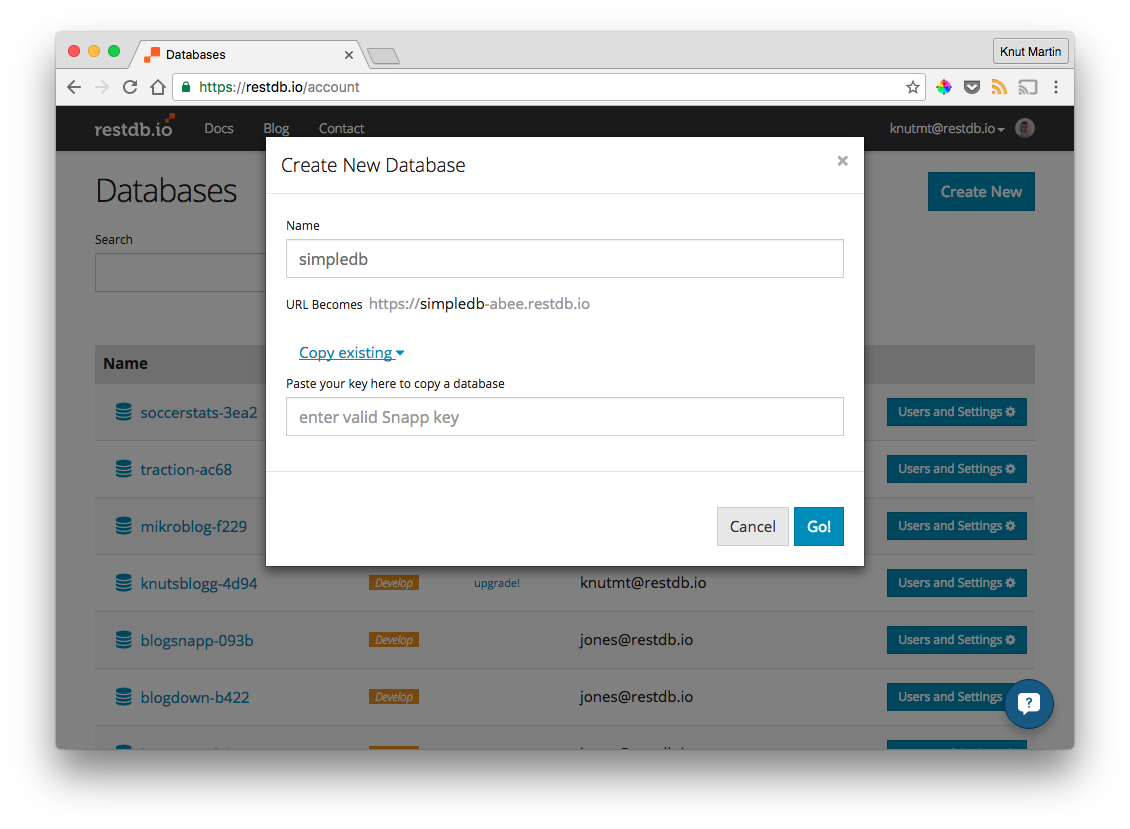
Click on the Database menu and click on the Create New button. Select a name for your database and press "Go!". Note that you also can create a new database as a copy of another. You will need a valid Snapp key to do this (more about this feature here)
Your database now has a unique URL as it's main access point and Restful endpoint.
For example: https://simpledb-abee.restdb.io
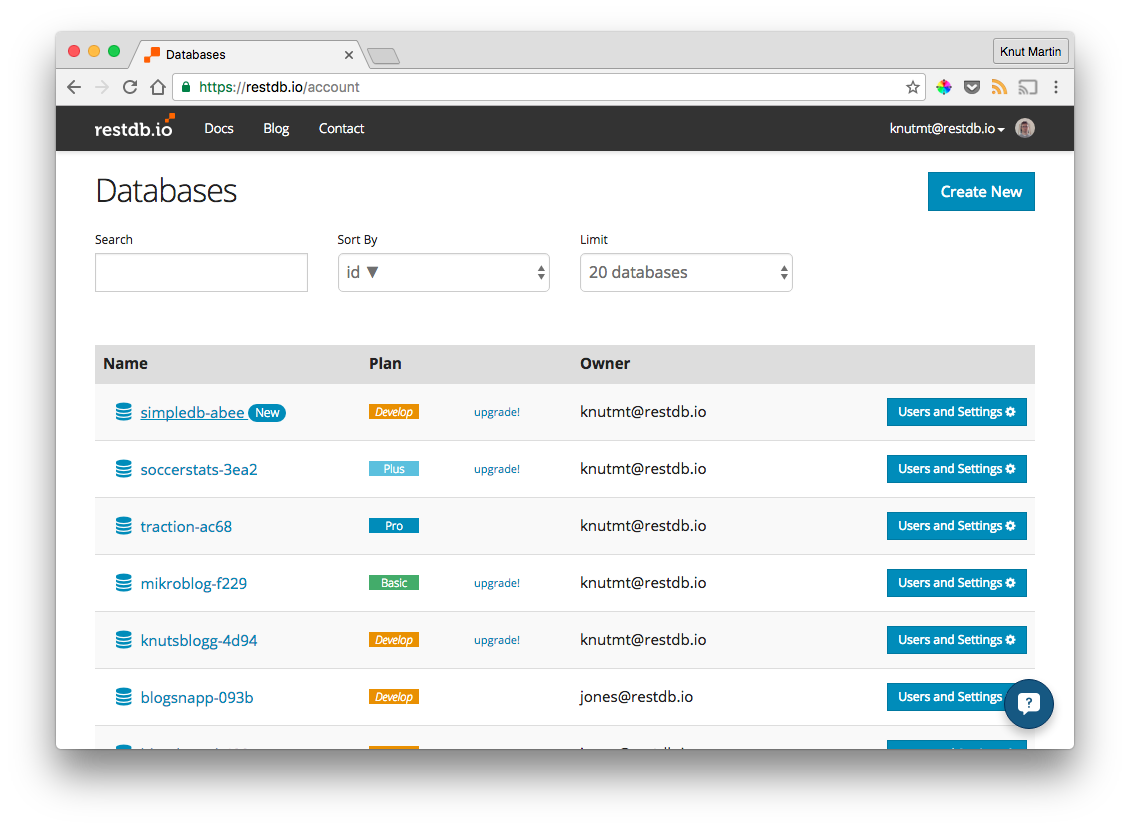
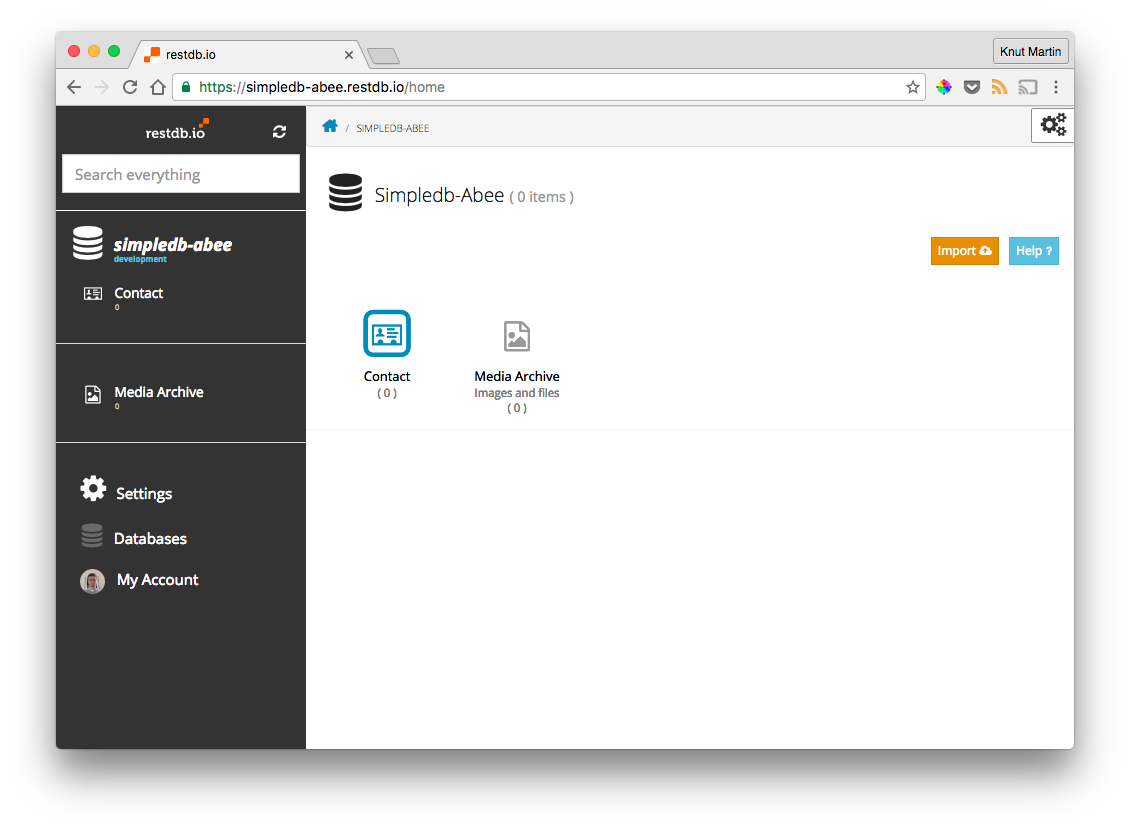
When the new database is created it will appear in the database overview list (the first page you meet after logging in). This list shows both your databases and the databases others have invited you to.
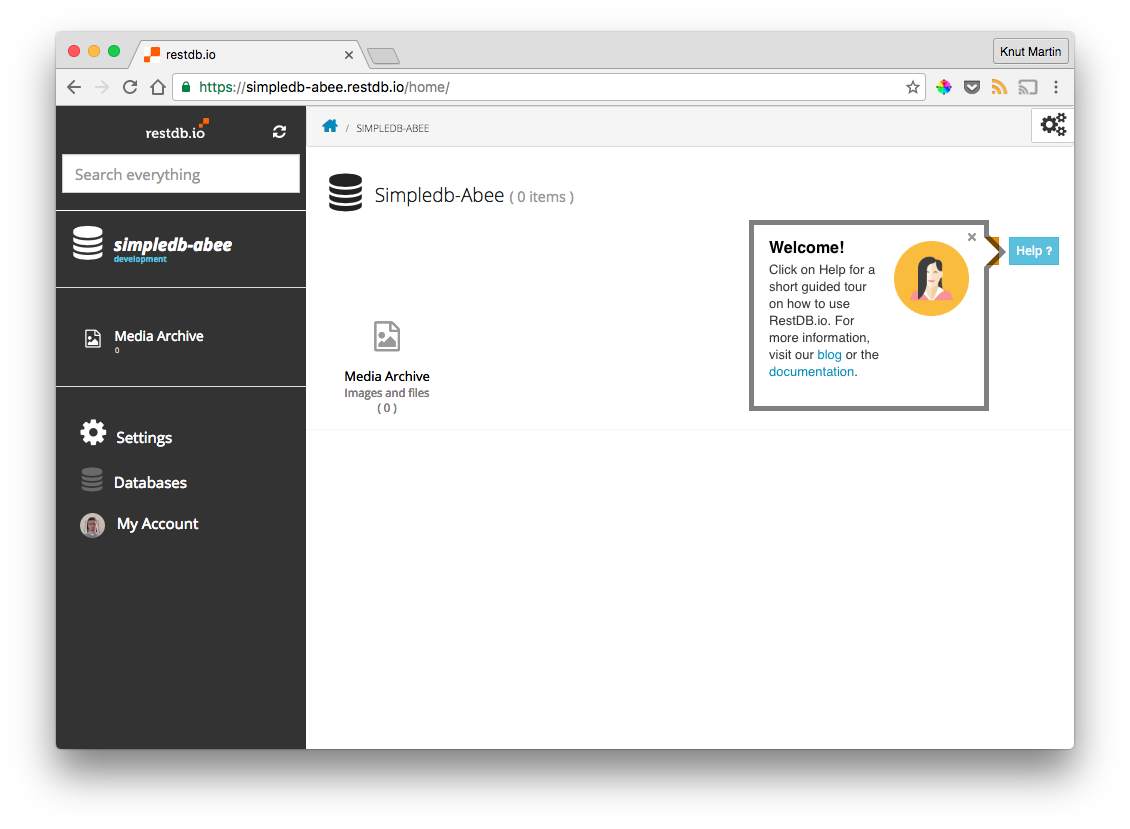
Clicking the link on the left side with the database name, opens the database admin user interface. This is where you work with data and it is also where you develop your database.
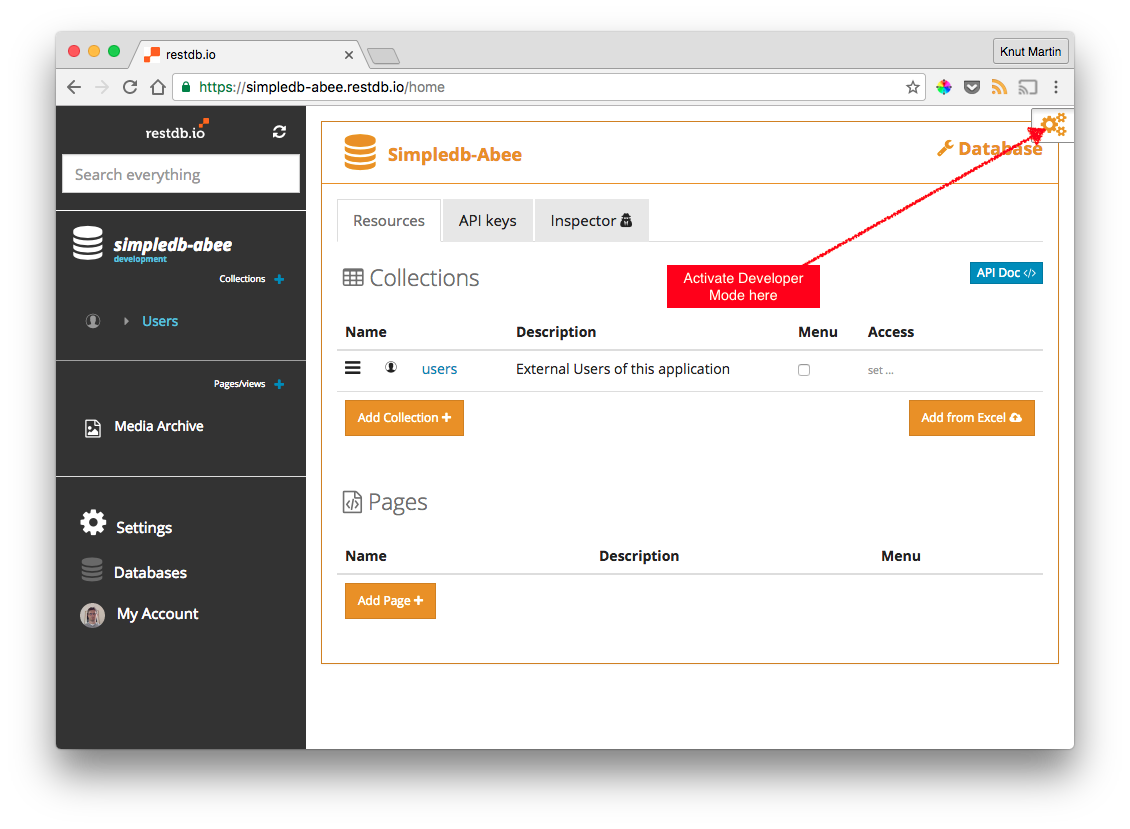
The Users and Settings button on the right side is available if you own the database or have been given admin access rights. This is where you manage the database and change settings (Users, API keys, Plan, Webhosting, External Authentication, Snapshots, Manage/Delete).
When you invite users, you can give them 3 types of access rights: Admin, Developer and User. Admins can do everything, Developers can access "Developer Mode" and Users can only use the backend (edit records).
Clicking on the database link navigates to the overview Dashboard for this database. The dashboard is the default start page for backend users/admins of the database.
The database is now empty, lets go ahead and create a new Collection. In order to modify and develop our database, we must activate "Developer Mode" by clicking the button in the top right corner. The left menu and the dashboard changes, and we are ready to create!
A restdb.io database application is defined by its Collections and the relations between them. A Collection is similar to a database-table or a spreadsheet. We use it to represent classes of information, e.g. Customer, Contact, Product and so on. To add a new Collection, click on the "Add Collection +" button.
Note that "Users" is a reserved collection name (docs).
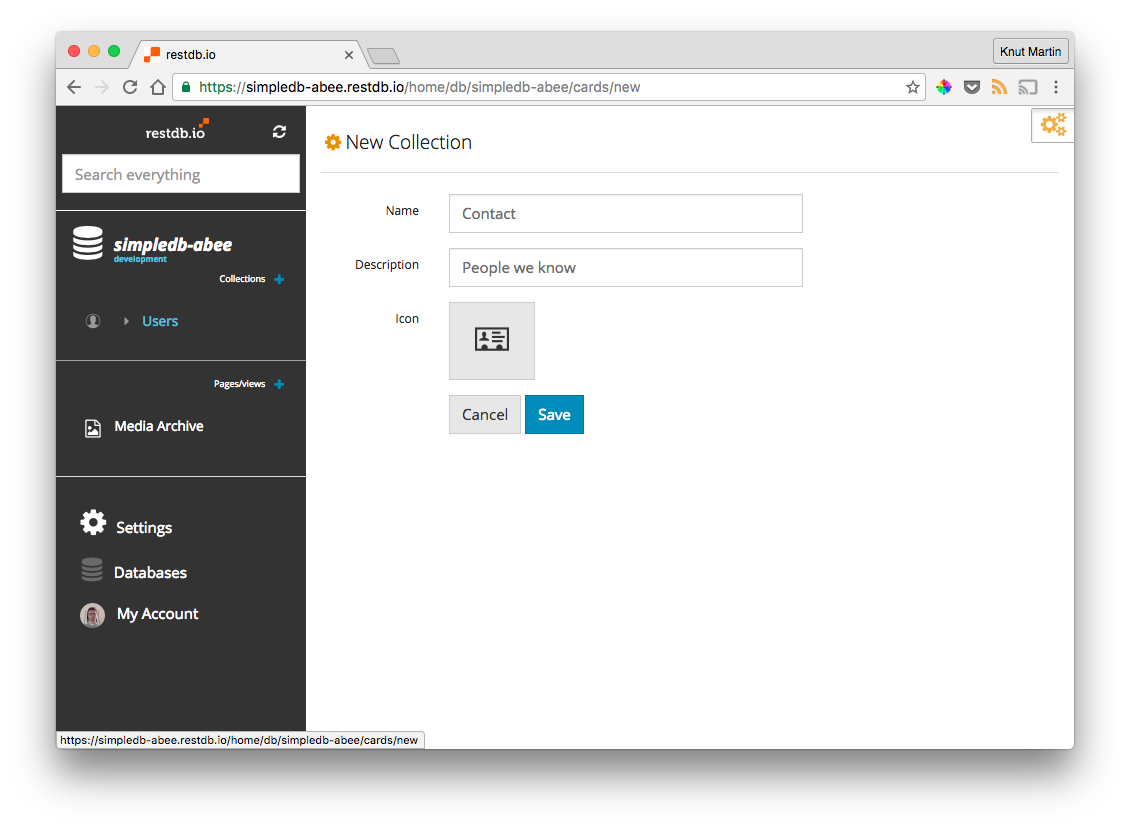
We need to enter a name and a description for our new Collection. Let's make a Collection to store Contact information. You can also pick an icon for the Collection. This helps navigating in your app later on.
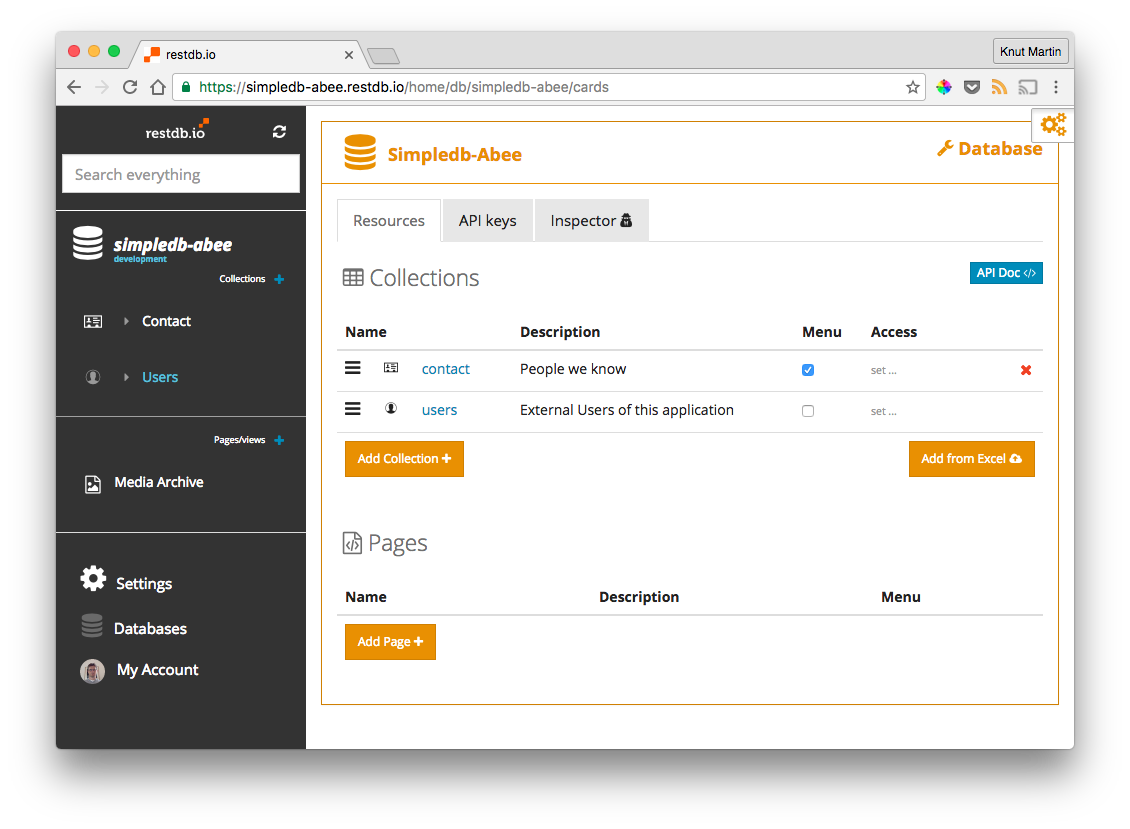
In the developer dashboard, we can now see that we have a new Contact collection in place.
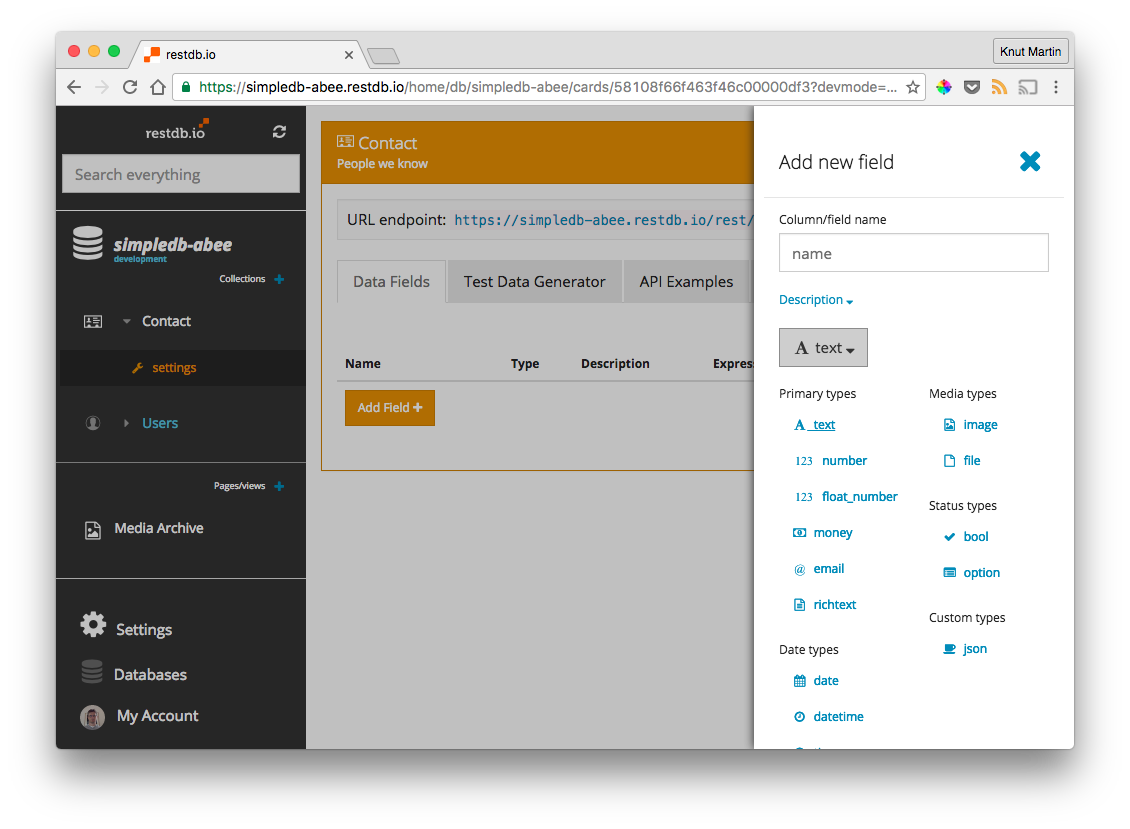
Click the link labelled contact. You are now ready to modify this collection. We are going to add a few fields. First click the Add Field+ button. You will now see a slide-in dialog where you can select the data type of the field. For name, we select the default (text).
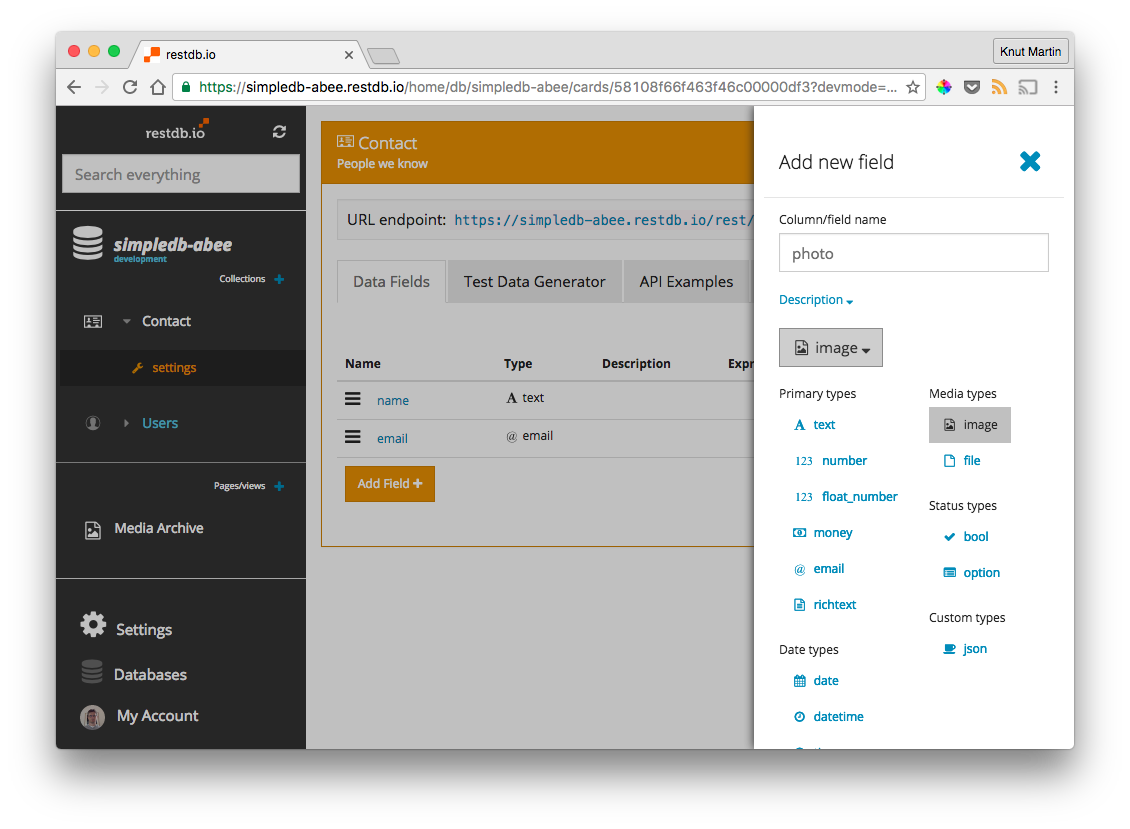
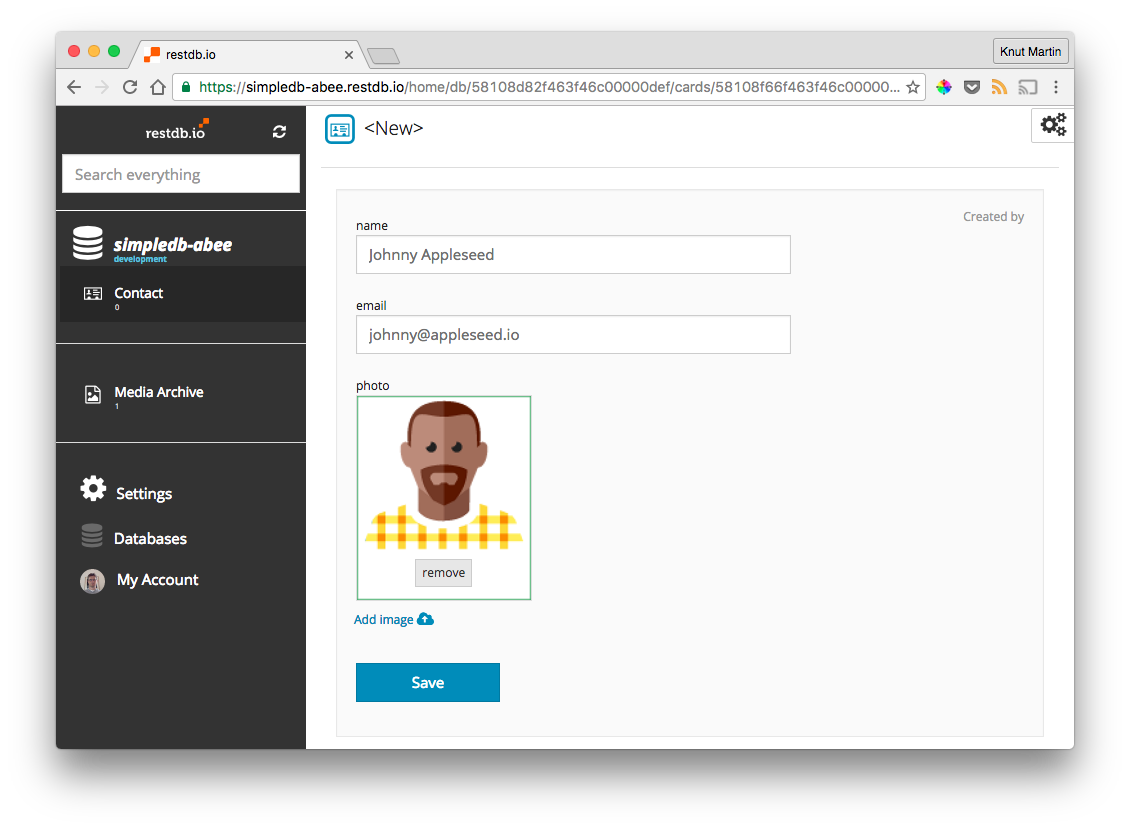
Now, lets add a few more fields: email (data type email) and photo (data type image).
Our contact collection now has the fields we require for now. Let's test it. Switch off Developer Mode by clicking the button in the top right corner and then click Contact, either on the dashboard or in the left menu.
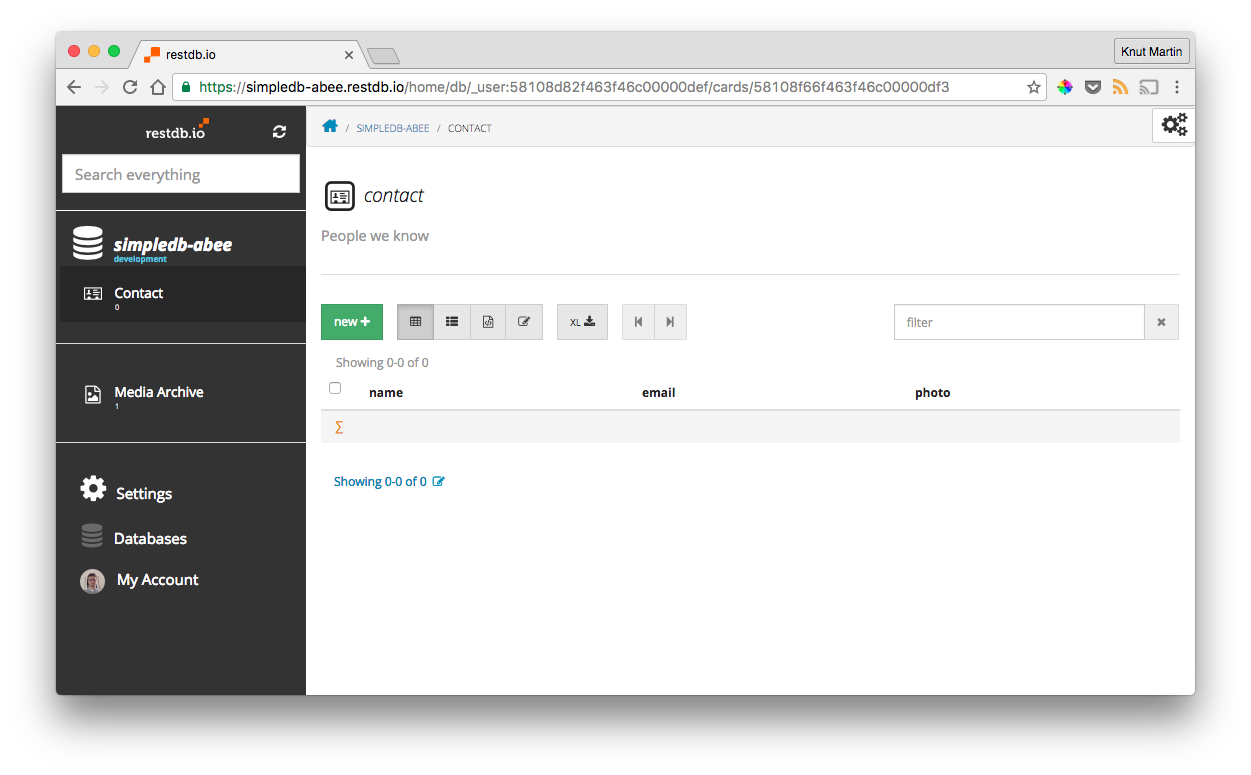
You can now see the list view of the contact collection.
Clicking the New + button will let us add a new record. Let's do that now and fill in some text and an image.
Going back to the list view looks like this (see screenshot below). The toolbar will let you view data as list (default), group, JSON and edit mode. In edit mode, you can edit the records directly without opening detail view on each of them.
You have now been through the most basic information to get started. For more detailed information about using restdb.io, we recommend reading the other sections of the documentation or browse through our blog articles.