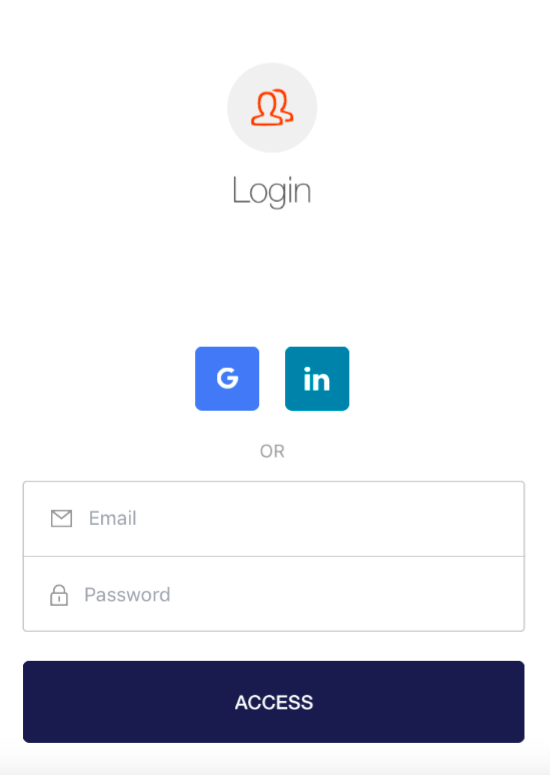
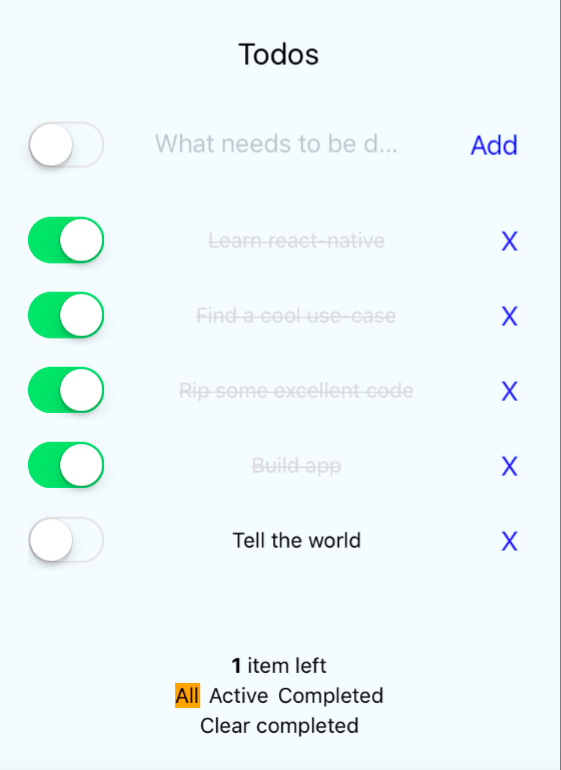
This post extends the setup form previous post on Auth0, which is recommended reading. It outlines the setup needed in restdb.io.
As an example, we created a Todo-app in react-native, using several cool technologies. It is available at github and comes with a basic introduction in the readme. Although cool, most of the packages used are not required for your first app - they’re just excellent tools and highly recommended.

React-native comes with a command line tool which can be installed using npm, in addition you need the basic framework for building on IOS and Android. The process is excellently described here. Note that you don’t need to set up both platforms, until you actually want to test on both.
After setting up the environment, you simply run (on the command line):
> react-native init MyProject
> cd MyProject
> react-native run-ios
This will start the simulator and run the generated, template, project. To run the sample project for this article, clone the repository, install typescript using npm, run npm install, typings install, gulp build and then react-native run-ios. When modifying the source, you can do gulp watch to continuously rebuild from typescript sources.
To use Auth0 in react-native, you basically install Auth0’s package for react-native, react-native-lock. This is an npm package, but there are few additional steps beside “npm install”, outlined here. Basically you need CocoaPods for ios, and then you need to link the library to the corresponding native logic. The installation caused no hassles when we ran it on a Mac for iOS.
After installing Auth0’s library, you need to initialize it in your code (we use Typescript, should be the same in regular javascript):
var Auth0Lock = require(‘react-native-lock’)

// The clientId and domain identifies your account on Auth0.  CREATE YOUR OWN FOR YOUR APP!

var lock = new Auth0Lock({clientId: “VERY_SECRET”, domain: "YOUR_DOMAIN_HERE.eu.auth0.com"});
…and then launch the login screen:
// Call Auth0, which shows the login screen and allows the user to register, if not already.

// NB: ATW, restdb requires the email to be present in the JWT - so we request it in the scope.

lock.show({authParams: {scope: ‘openid email’}}, (err, profile, token) => {
  console.log(‘Logged in! : ‘, token);
});
The show() function connects to your client account in Auth0 and the callback is invoked when the user completes the process. The user can choose to register a new user, login with username/password or use their social network ids. The result is the JWT token - and that’s what you’ll need when talking to restdb.io.
The sample application contains a component, called Login, which is shown before the app has a valid token. This component invokes the lock.show() function in it’s componentDidMount, effectively filling the screen with Auth0’s component. See this file.
The sample app then uses redux and redux-saga to manage state, and the token goes into the store. You don’t have to do that - simply store the received token somewhere and head over to restdb.io.
Using JWT with restdb.io is really simple and besides providing authenticaton, it allows records to be tagged with the user’s id (or rather: email). If you enable “private data” for the collection, each user will only be able to query, ie see, their own records. As mentioned above, Auth0 access needs to be configured in restdb.io, according to a previous blog post.
To step into this architectural fanciness, we used axios, defined a simple header-function and then started GET’ing, POST’ing and PUT’ing. We created a function, like this:
function getHeader(dbData, idToken) {
  // This code sets up authentication for restdb.io, it falls back to the apiKey if no user token is present.
  // ATW, this fallback is never used - but included as an example

  const apiKey = idToken ? null : { "x-apikey": dbData.apiKey }
  const token = idToken ? { 'Authorization': 'Bearer ' + idToken } : null

  return { headers: Object.assign({}, apiKey, token) }
}
It’s also possible to use an api token, for non-authenticated users, if needed. It’s demonstrated in the demo app, but not used.
Use the getHeader-function, for a GET request:
export function loadTasks(params, idToken) {
    return get(`${dbData.url}/rest/${collection}`, Object.assign(getHeader(dbData, idToken), {
        params
    })).then(x => {
        return x.data
    }).catch(err => {
        console.error("error from axios/restdb", err)
    })
}
We combine the headers with any queries the function’s client wants - and call restdb.io. The result of this method, after picking off the “data” response, is the list of records. See the entire file here.
Using the snippets above and this great technology, you should be ready for your own mobile app - complete with persistence and authentication.
Conclusion
Key findings from this work:


