If you're here because you need a landing page for your campaigns fast, just head over to our website and install the complete application from the template catalog here.
If you want to follow this tutorial to learn how to set up dynamic websites in restdb.io, we recommend you to sign up first and browse through the quickstart section of the documentation (it will take you a couple of minutes).
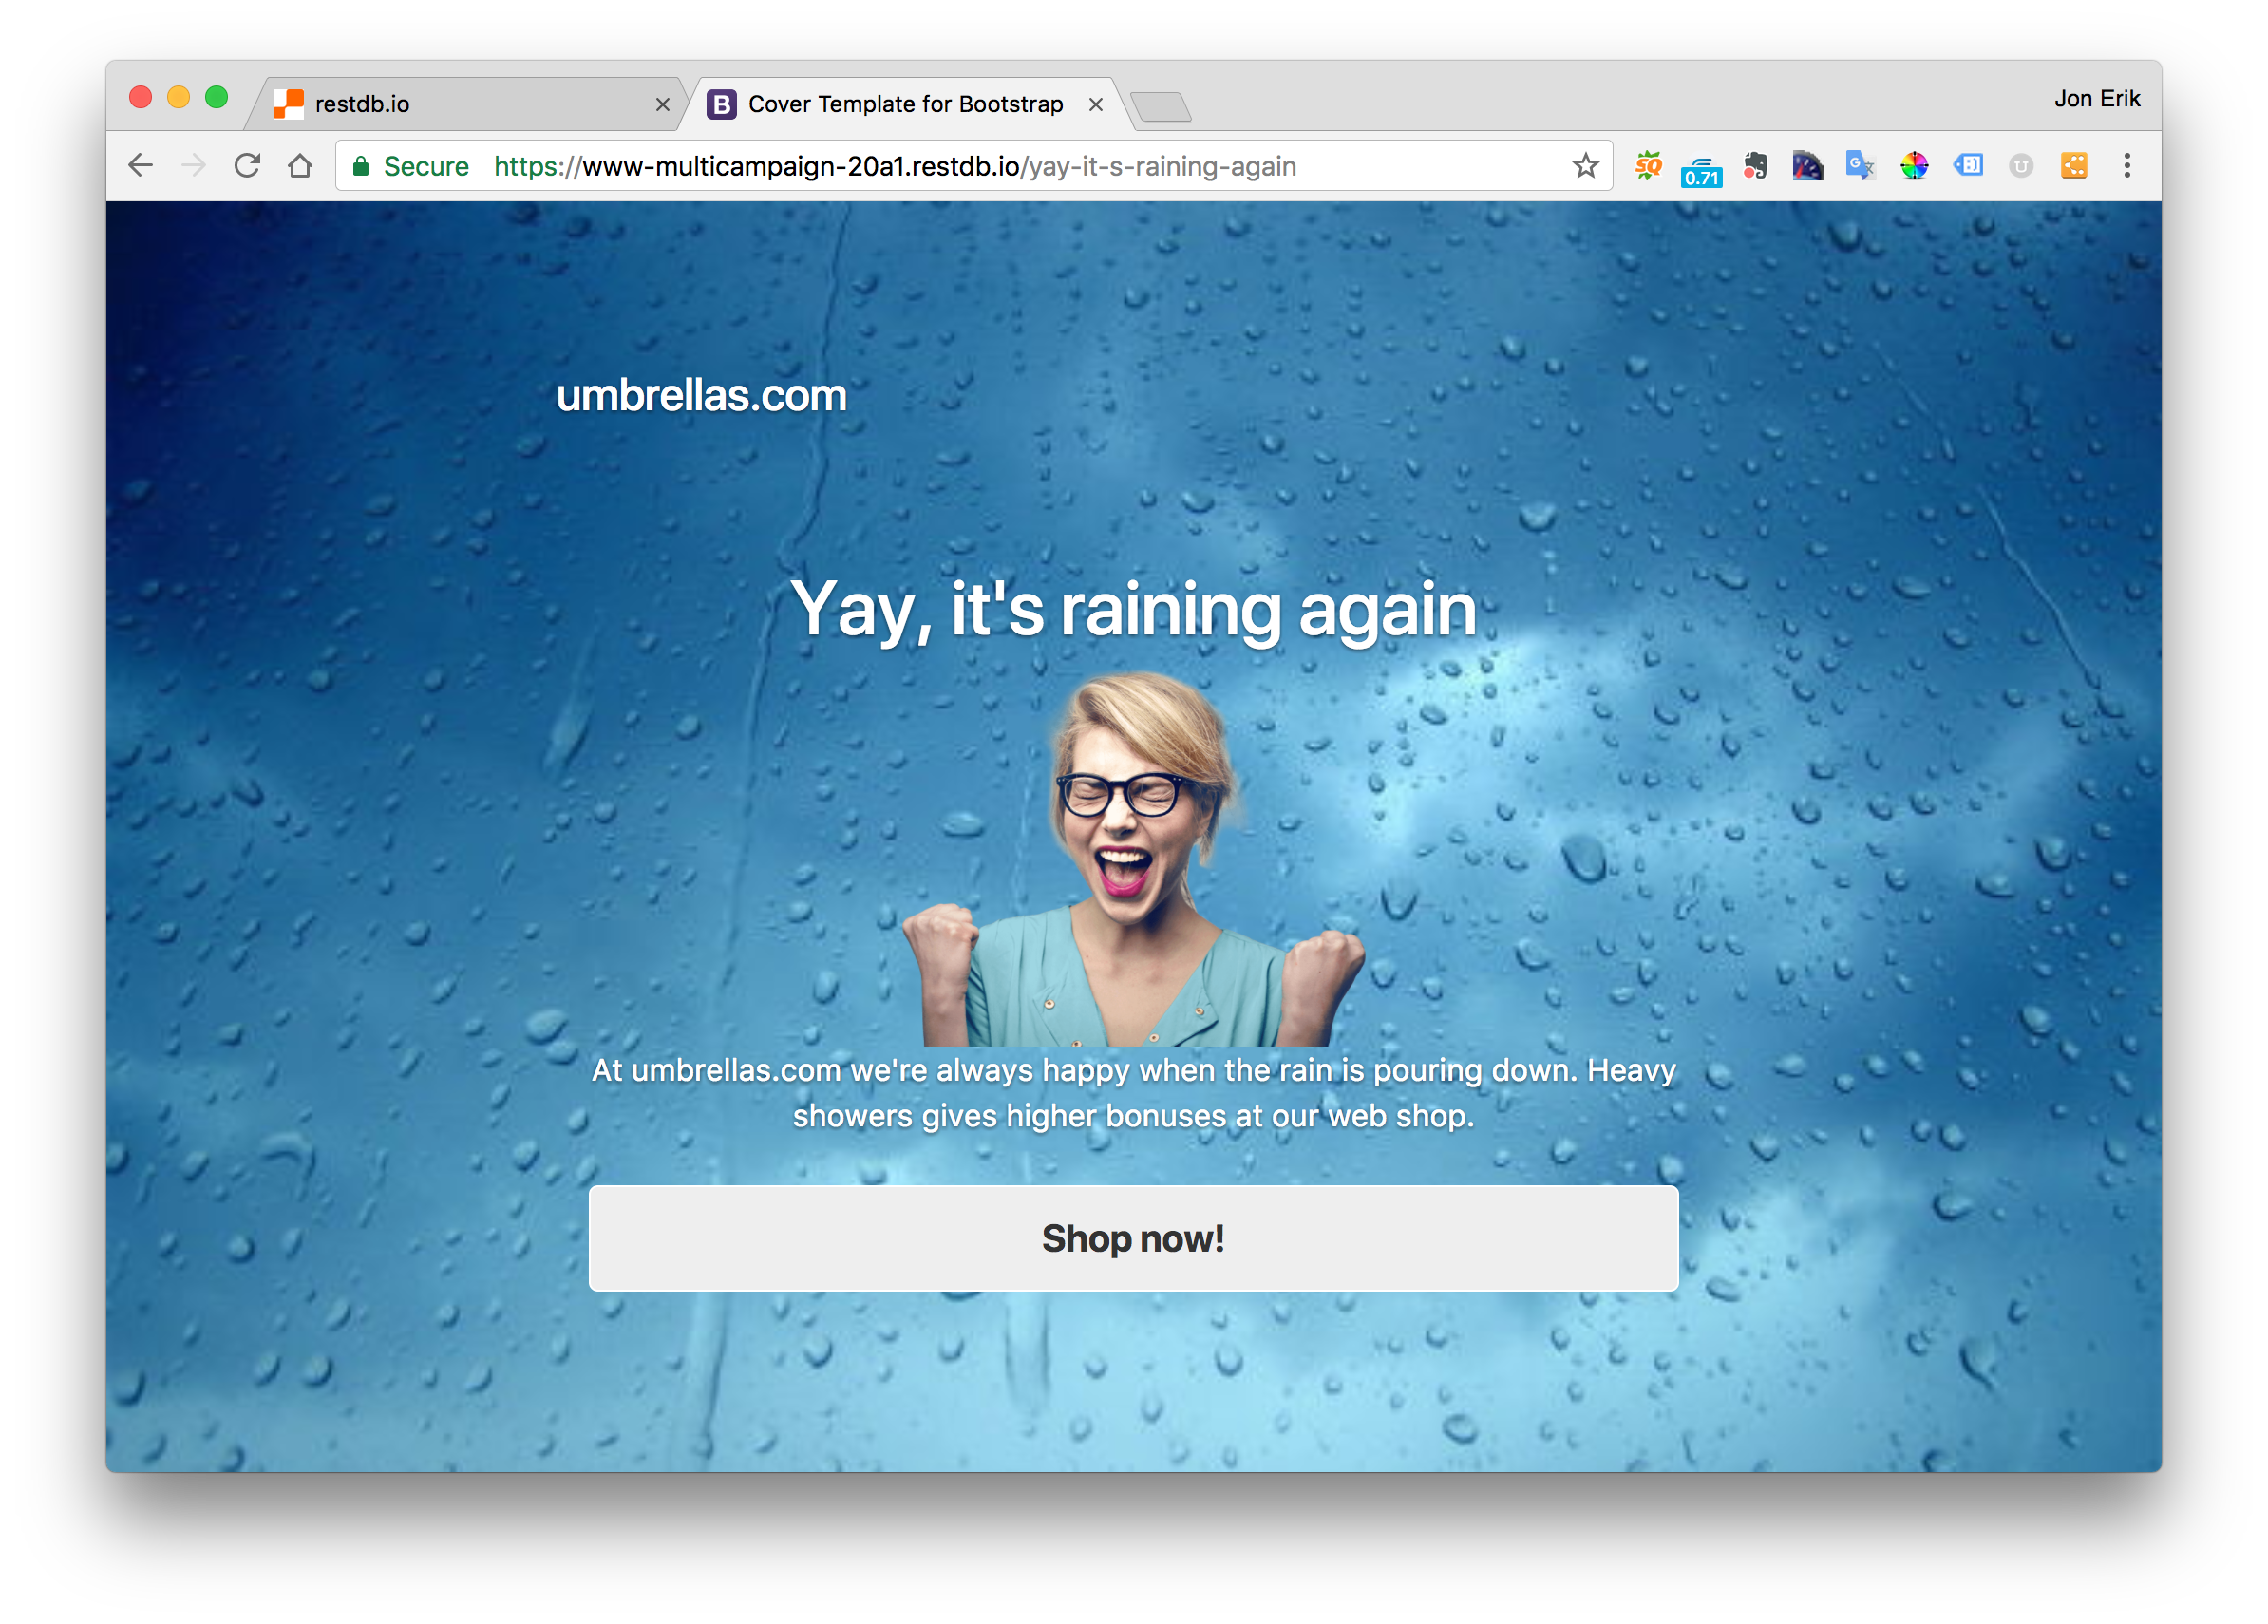
This screenshot above shows an example of the template in use.
Click this link for a live demo.
We will show you how this application was created in 4 simple steps:
- Create the master Page template
- Set up the content database
- Set up the Page instance using the master template
- Host the campaign Page
1. Create the master Page template
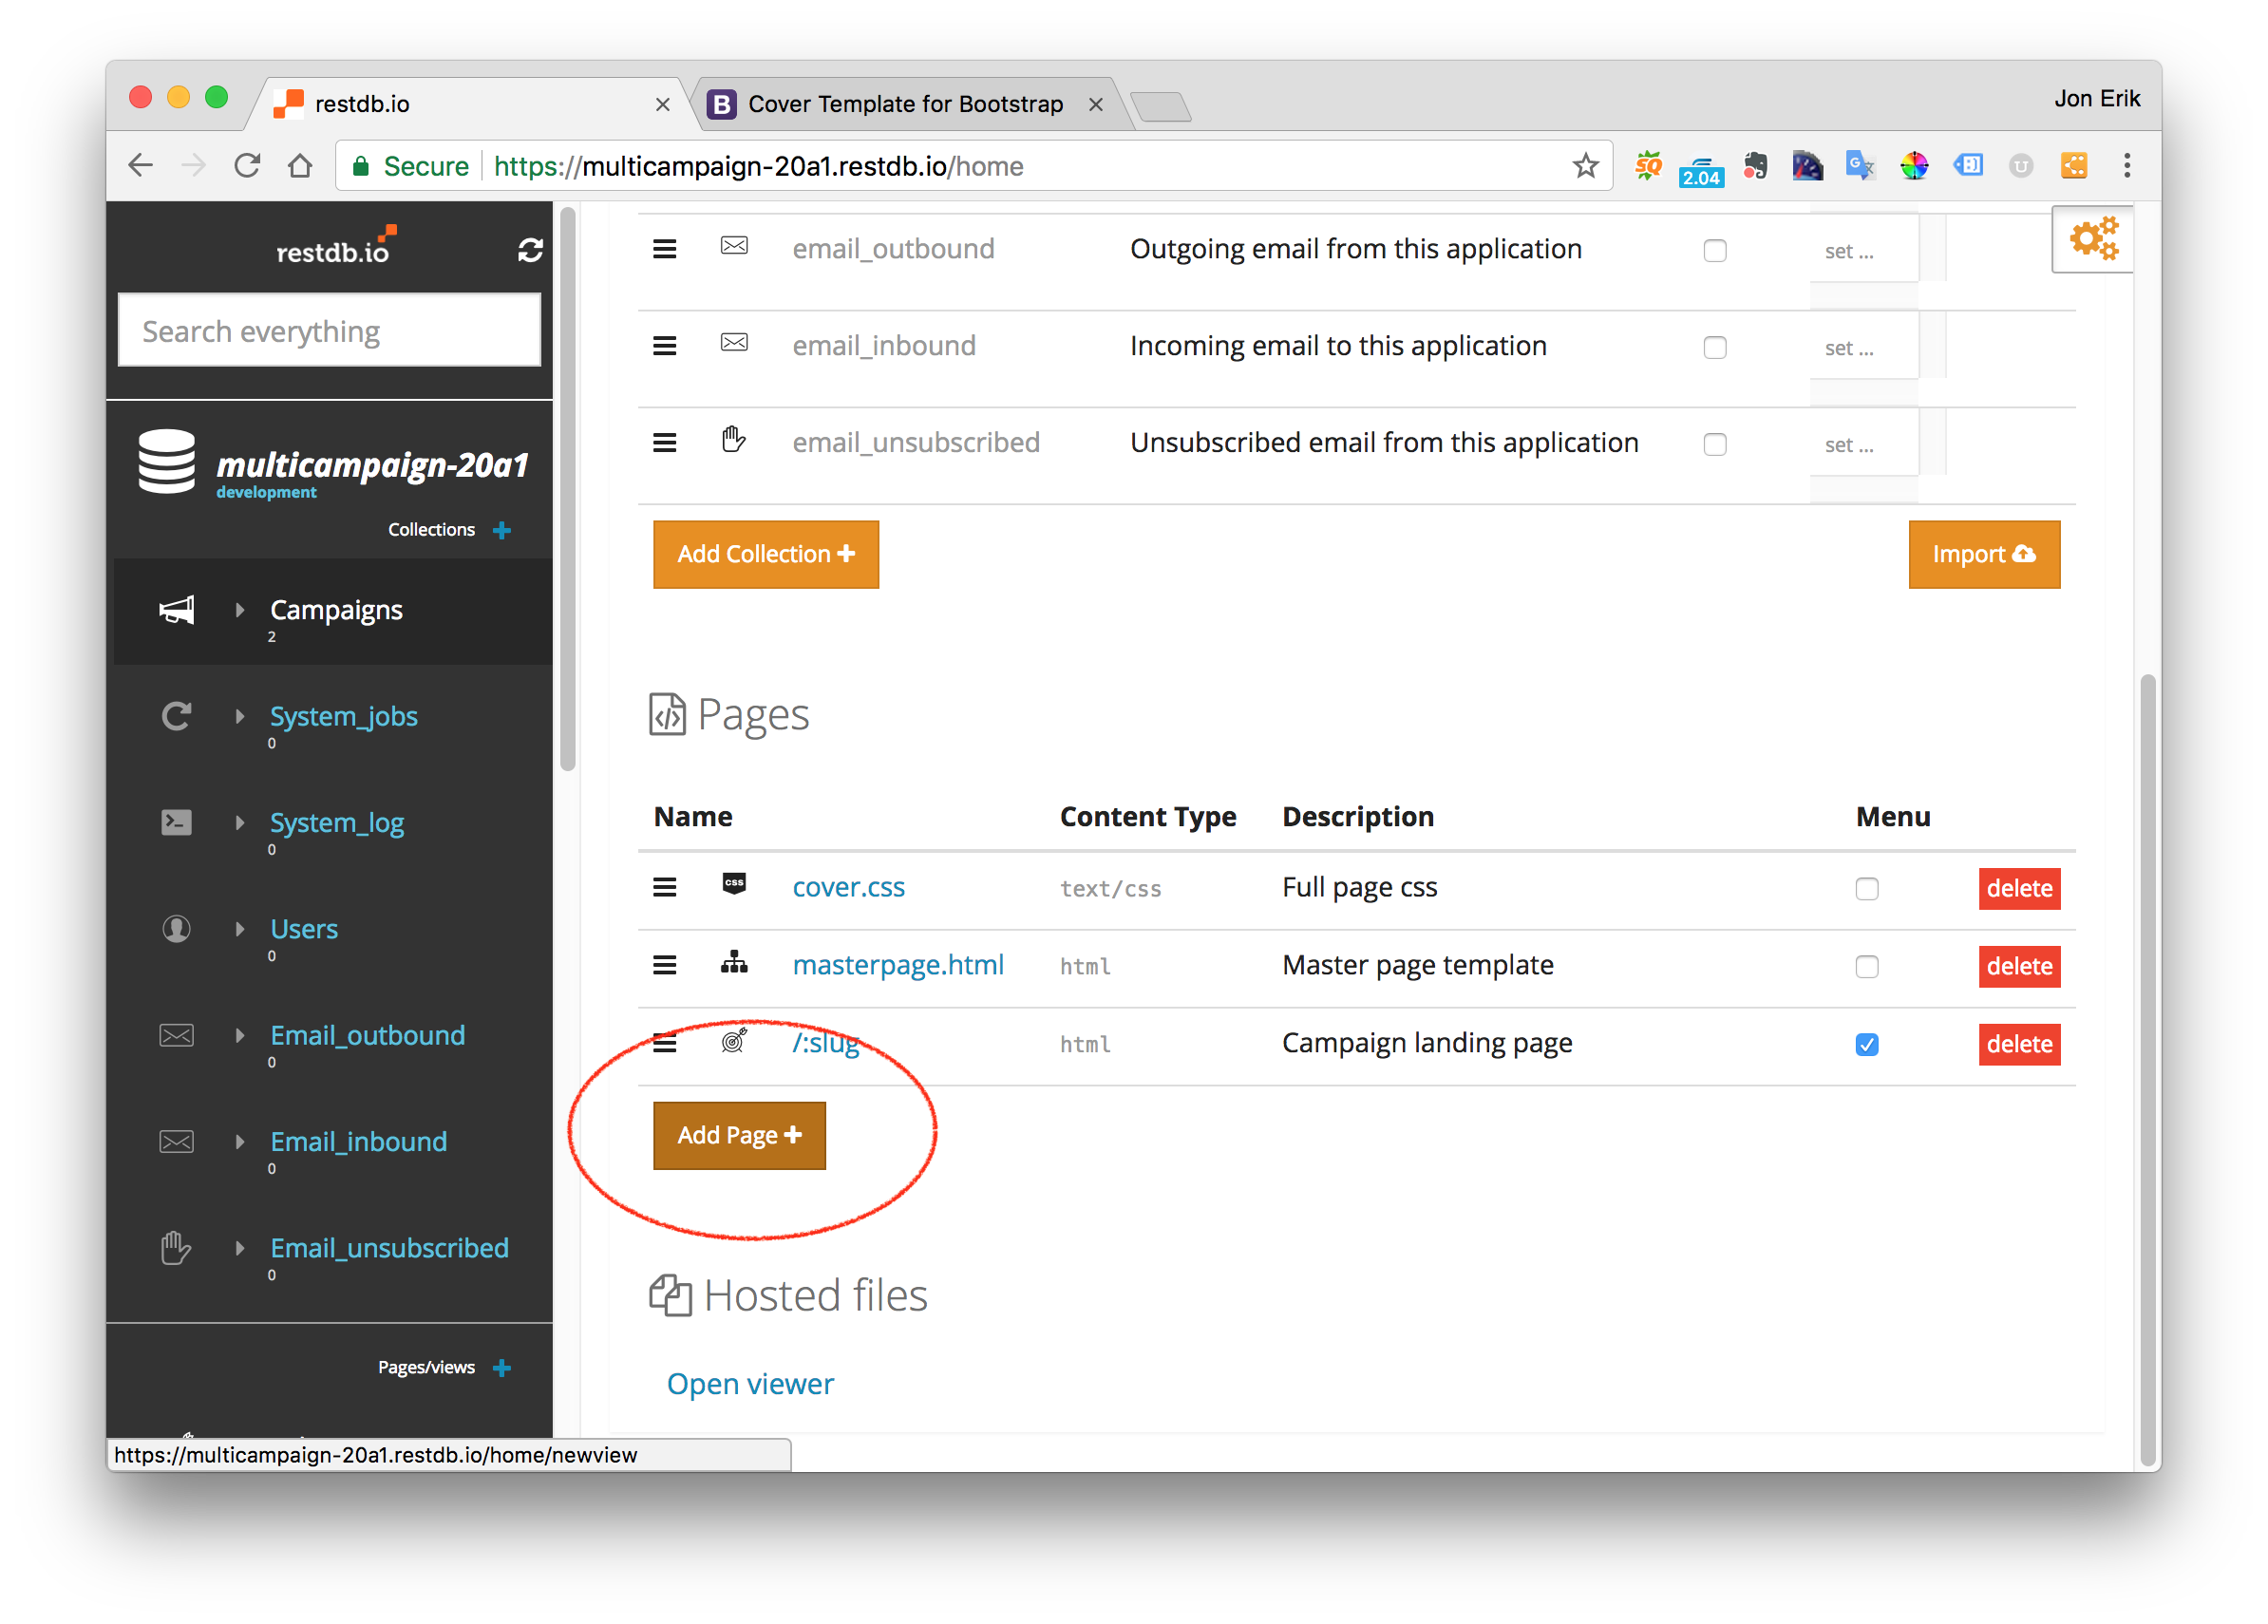
In "Development Mode", we've created a new Page for our master template.
We give this page the name 'mastertemplate.html'. Next we click on the Page link to add the HTML for our master template.
The first part of the template includes the Bootstrap v4.0 library. We add a reference to the CDN resource in the header section of the template.
<!doctype html>
<html lang="en">
  <head>
  ...
    <title>Campaign Template for Bootstrap</title>

    <!-- Bootstrap core CSS -->
    <link href="https://maxcdn.bootstrapcdn.com/bootstrap/4.0.0-beta.2/css/bootstrap.min.css" rel="stylesheet" integrity="sha384-PsH8R72JQ3SOdhVi3uxftmaW6Vc51MKb0q5P2rRUpPvrszuE4W1povHYgTpBfshb" crossorigin="anonymous">

    <!-- Custom styles for this template -->
    <style>
        {{include "cover.css"}}
    </style>

  </head>
  ...
In addition to the Bootstrap library we also add a custom CSS stylesheet. Notice that the CSS file is included directly into the page with the {{include "cover.css"}}helper. This gives us the opportunity to access Page variables inside the css file.
To be more specific, we want to change the background image dynamically (based on data in the database). The CSS snippet code below from the cover.css file shows how a dynamic element can be used:
body {
  ...
  background: url(/media/{{campaign.[0].background.[0]}}?s=w);
  background-size: cover;
  ...
}
The next part of the template contains the dynamic content elements. These will be replaced with data from our database. Notice that we use Handlebars triple curly brackets for content elements, e.g. {{{title}}}. This is necessary to preserve any HTML formatting in the data element.
<body>
...
<header class="masthead clearfix">
    <div class="inner">
        <h4 class="masthead-brand">{{#unless campaignTitle}} [template: CAMPAIGN TITLE] {{else}}{{{campaignTitle}}}{{/unless}}</h4>
    </div>
    </header>

    <main role="main" class="inner cover">
    {{#unless title}} <h1 class="cover-heading">[template: TITLE]</h1> {{else}}<h1 class="cover-heading">{{{title}}}</h1>{{/unless}}

    <div class="container-fluid">
        <img src="/media/{{campaign.[0].splash-image.[0]}}?s=w" class="splashimg img-fluid" alt="Responsive image"/>
    </div>

    {{#unless lead}} <div class="lead-text">[template: LEAD text ...]</div> {{else}}<div class="lead-text">{{{lead}}}</div>{{/unless}}

    <div class="cta">
        {{#unless callToAction}}<a href="#" class="btn btn-block btn-lg btn-secondary"> [template: CALLTOACTION] </a>{{else}}{{{callToAction}}}{{/unless}}</a>
    </div>
    </main>
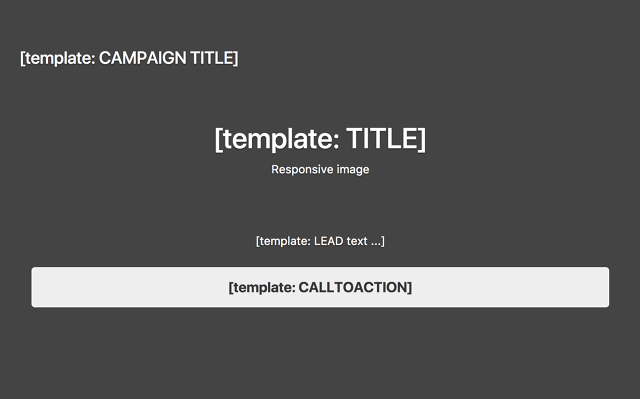
The finished master template (without any content) will layout the elements as shown in the screenshot below:
Before we create an actual campaign Page that uses the template, we need to create a database to manage and edit the campaign content.
2. Set up the content database
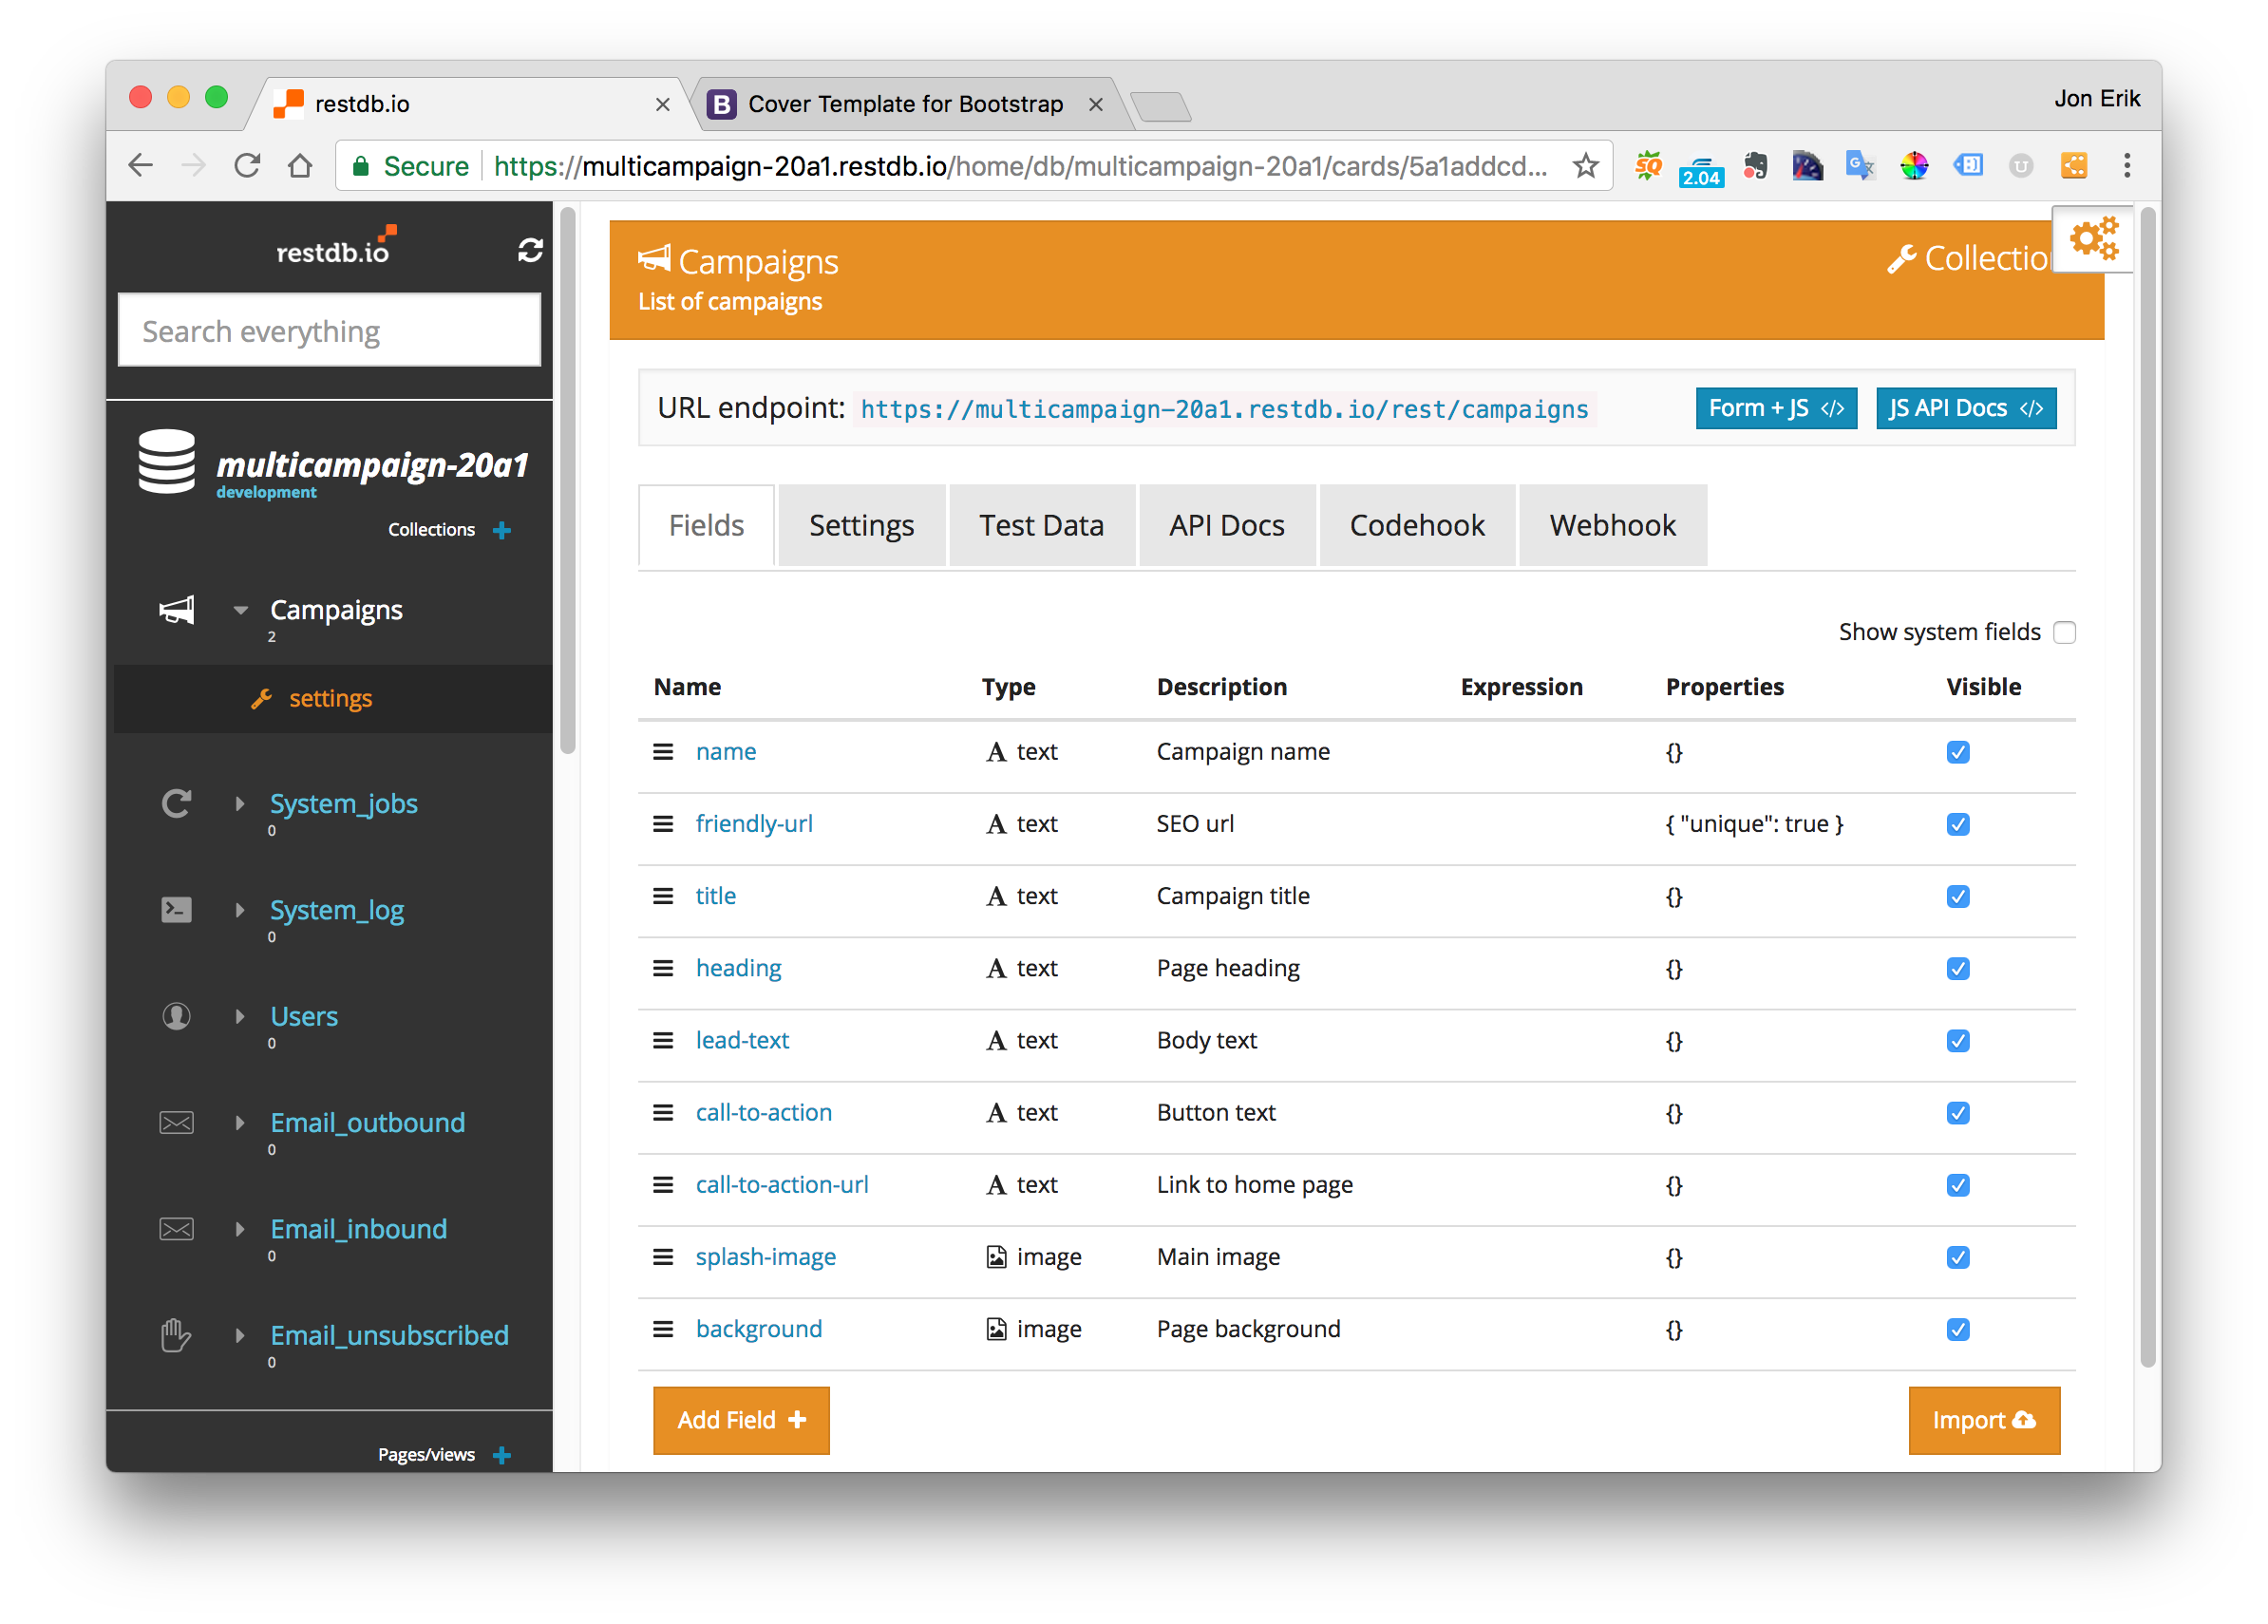
The campaign database consists of a single data Collection for the campaigns, we call our data Collection campaigns.
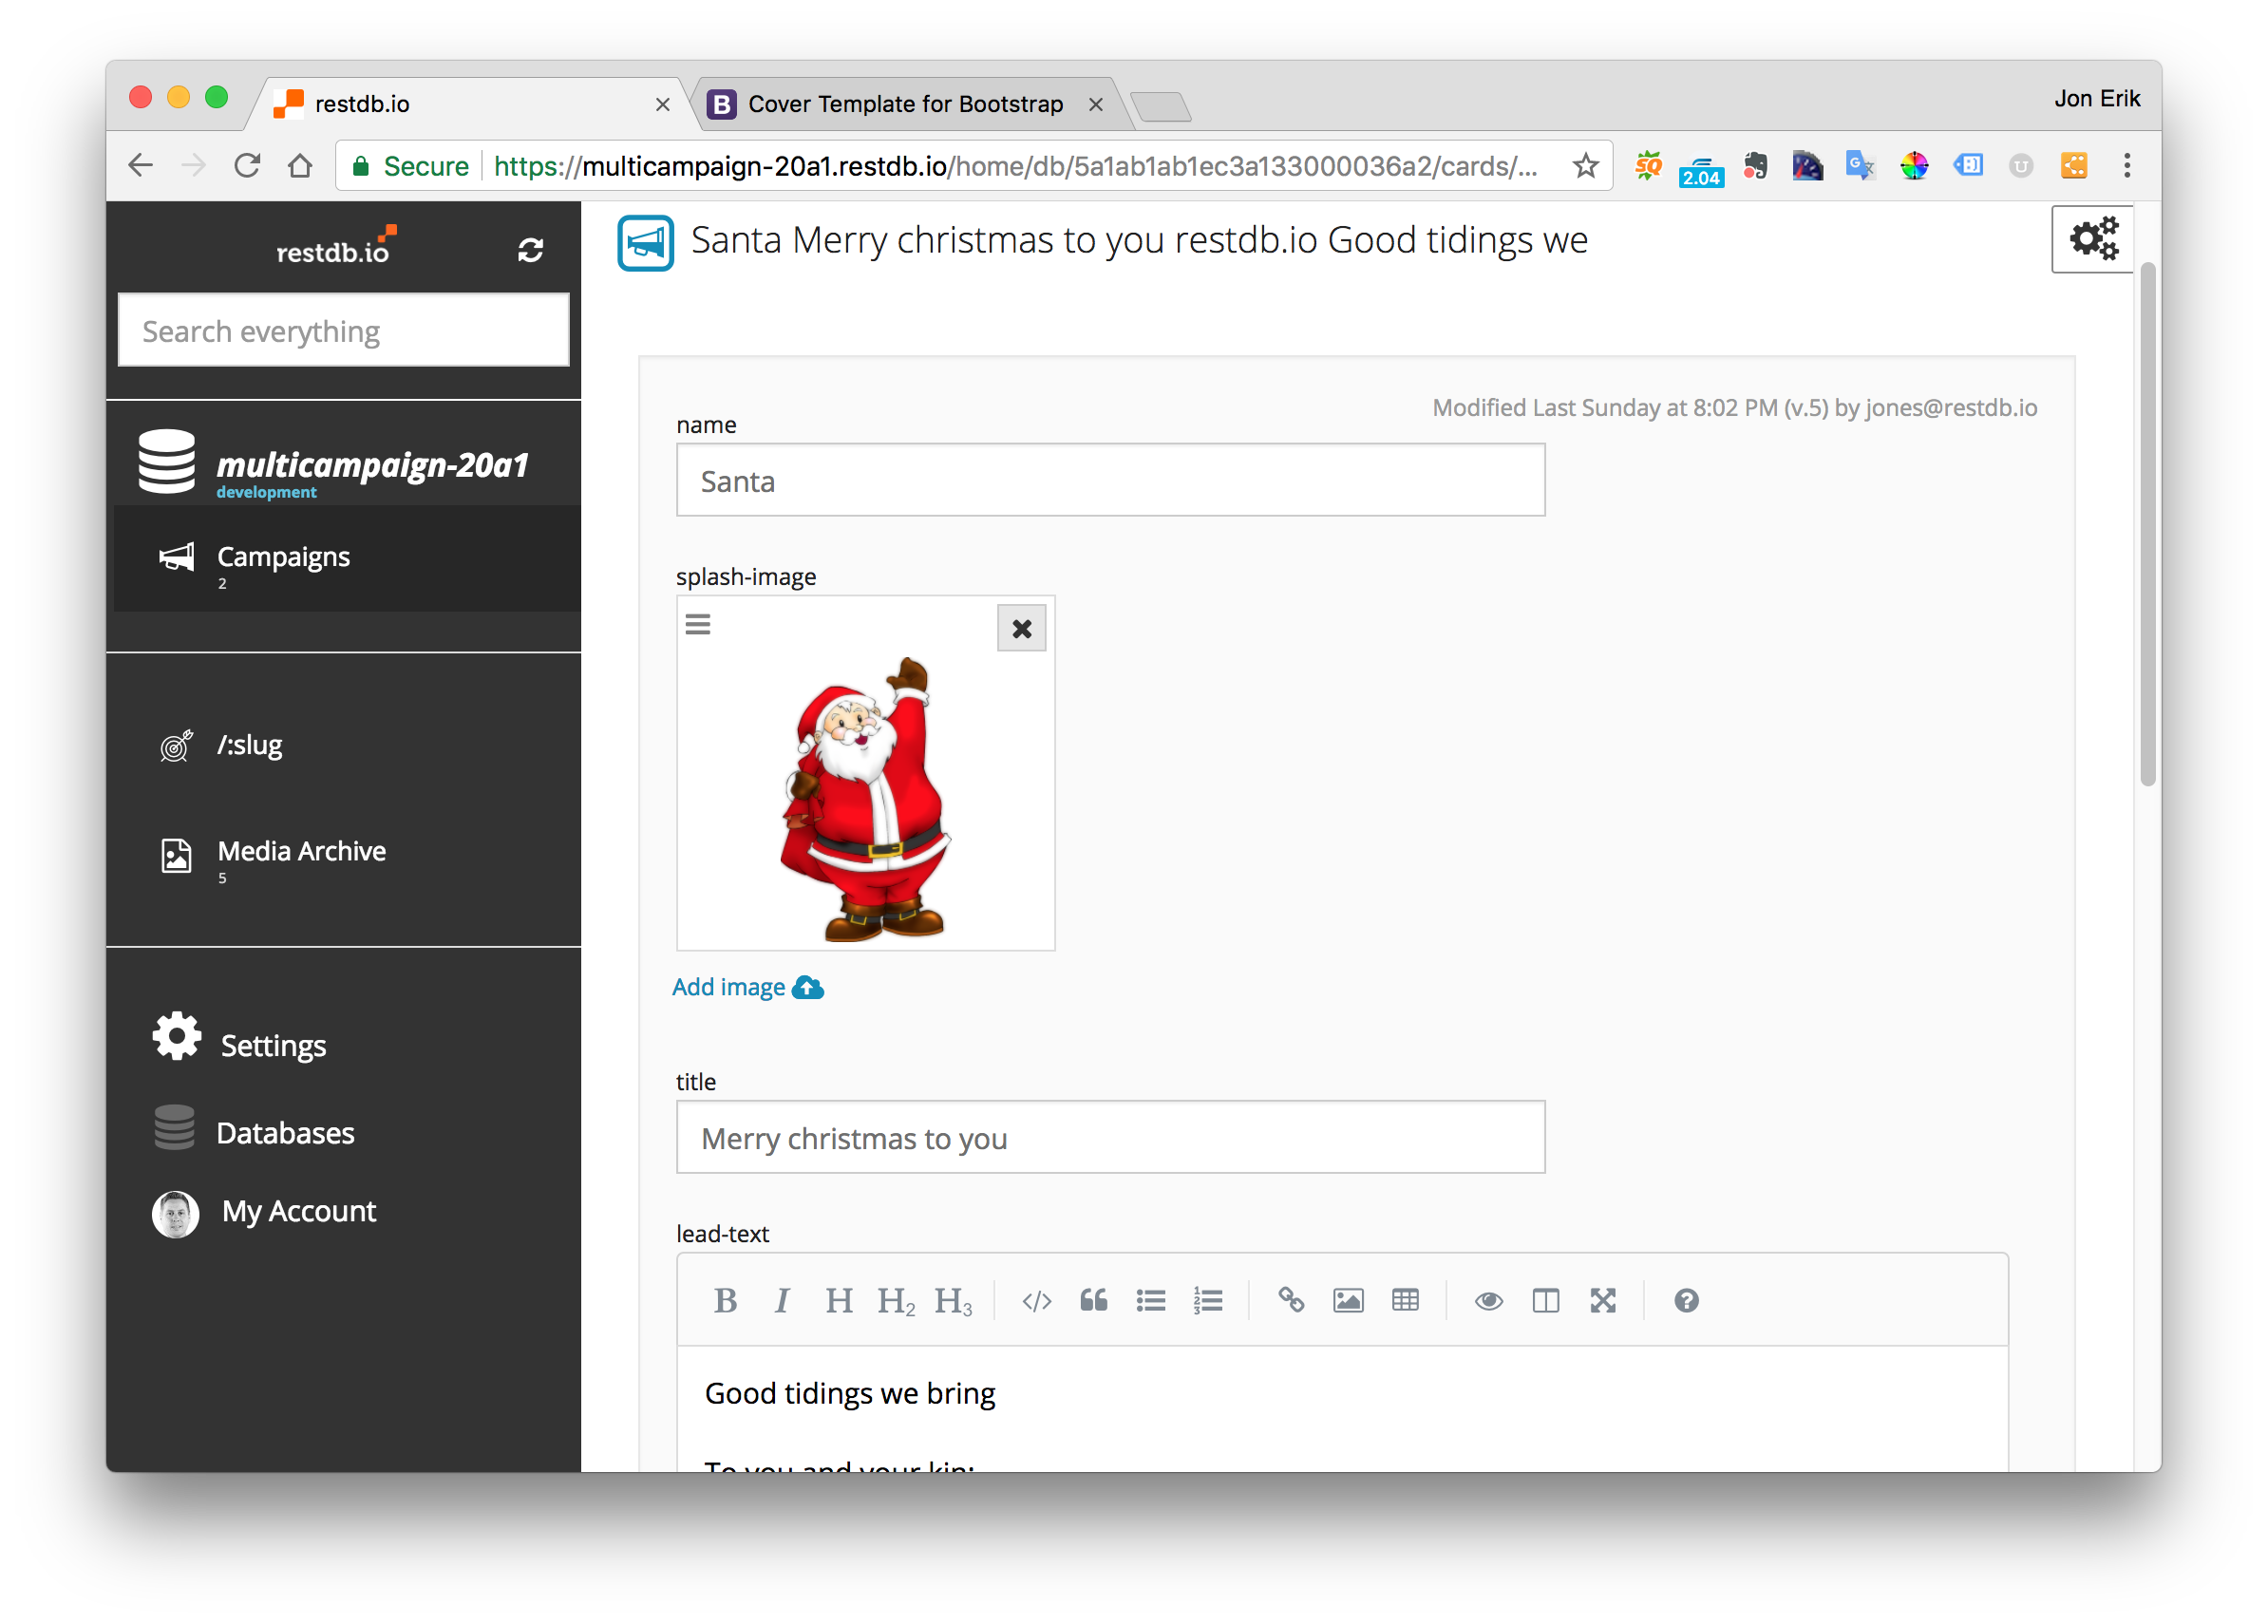
To specify the data schema for the data Collection we add the necessary datafields (shown in the screenshot above). Now we can begin to add content to our database.
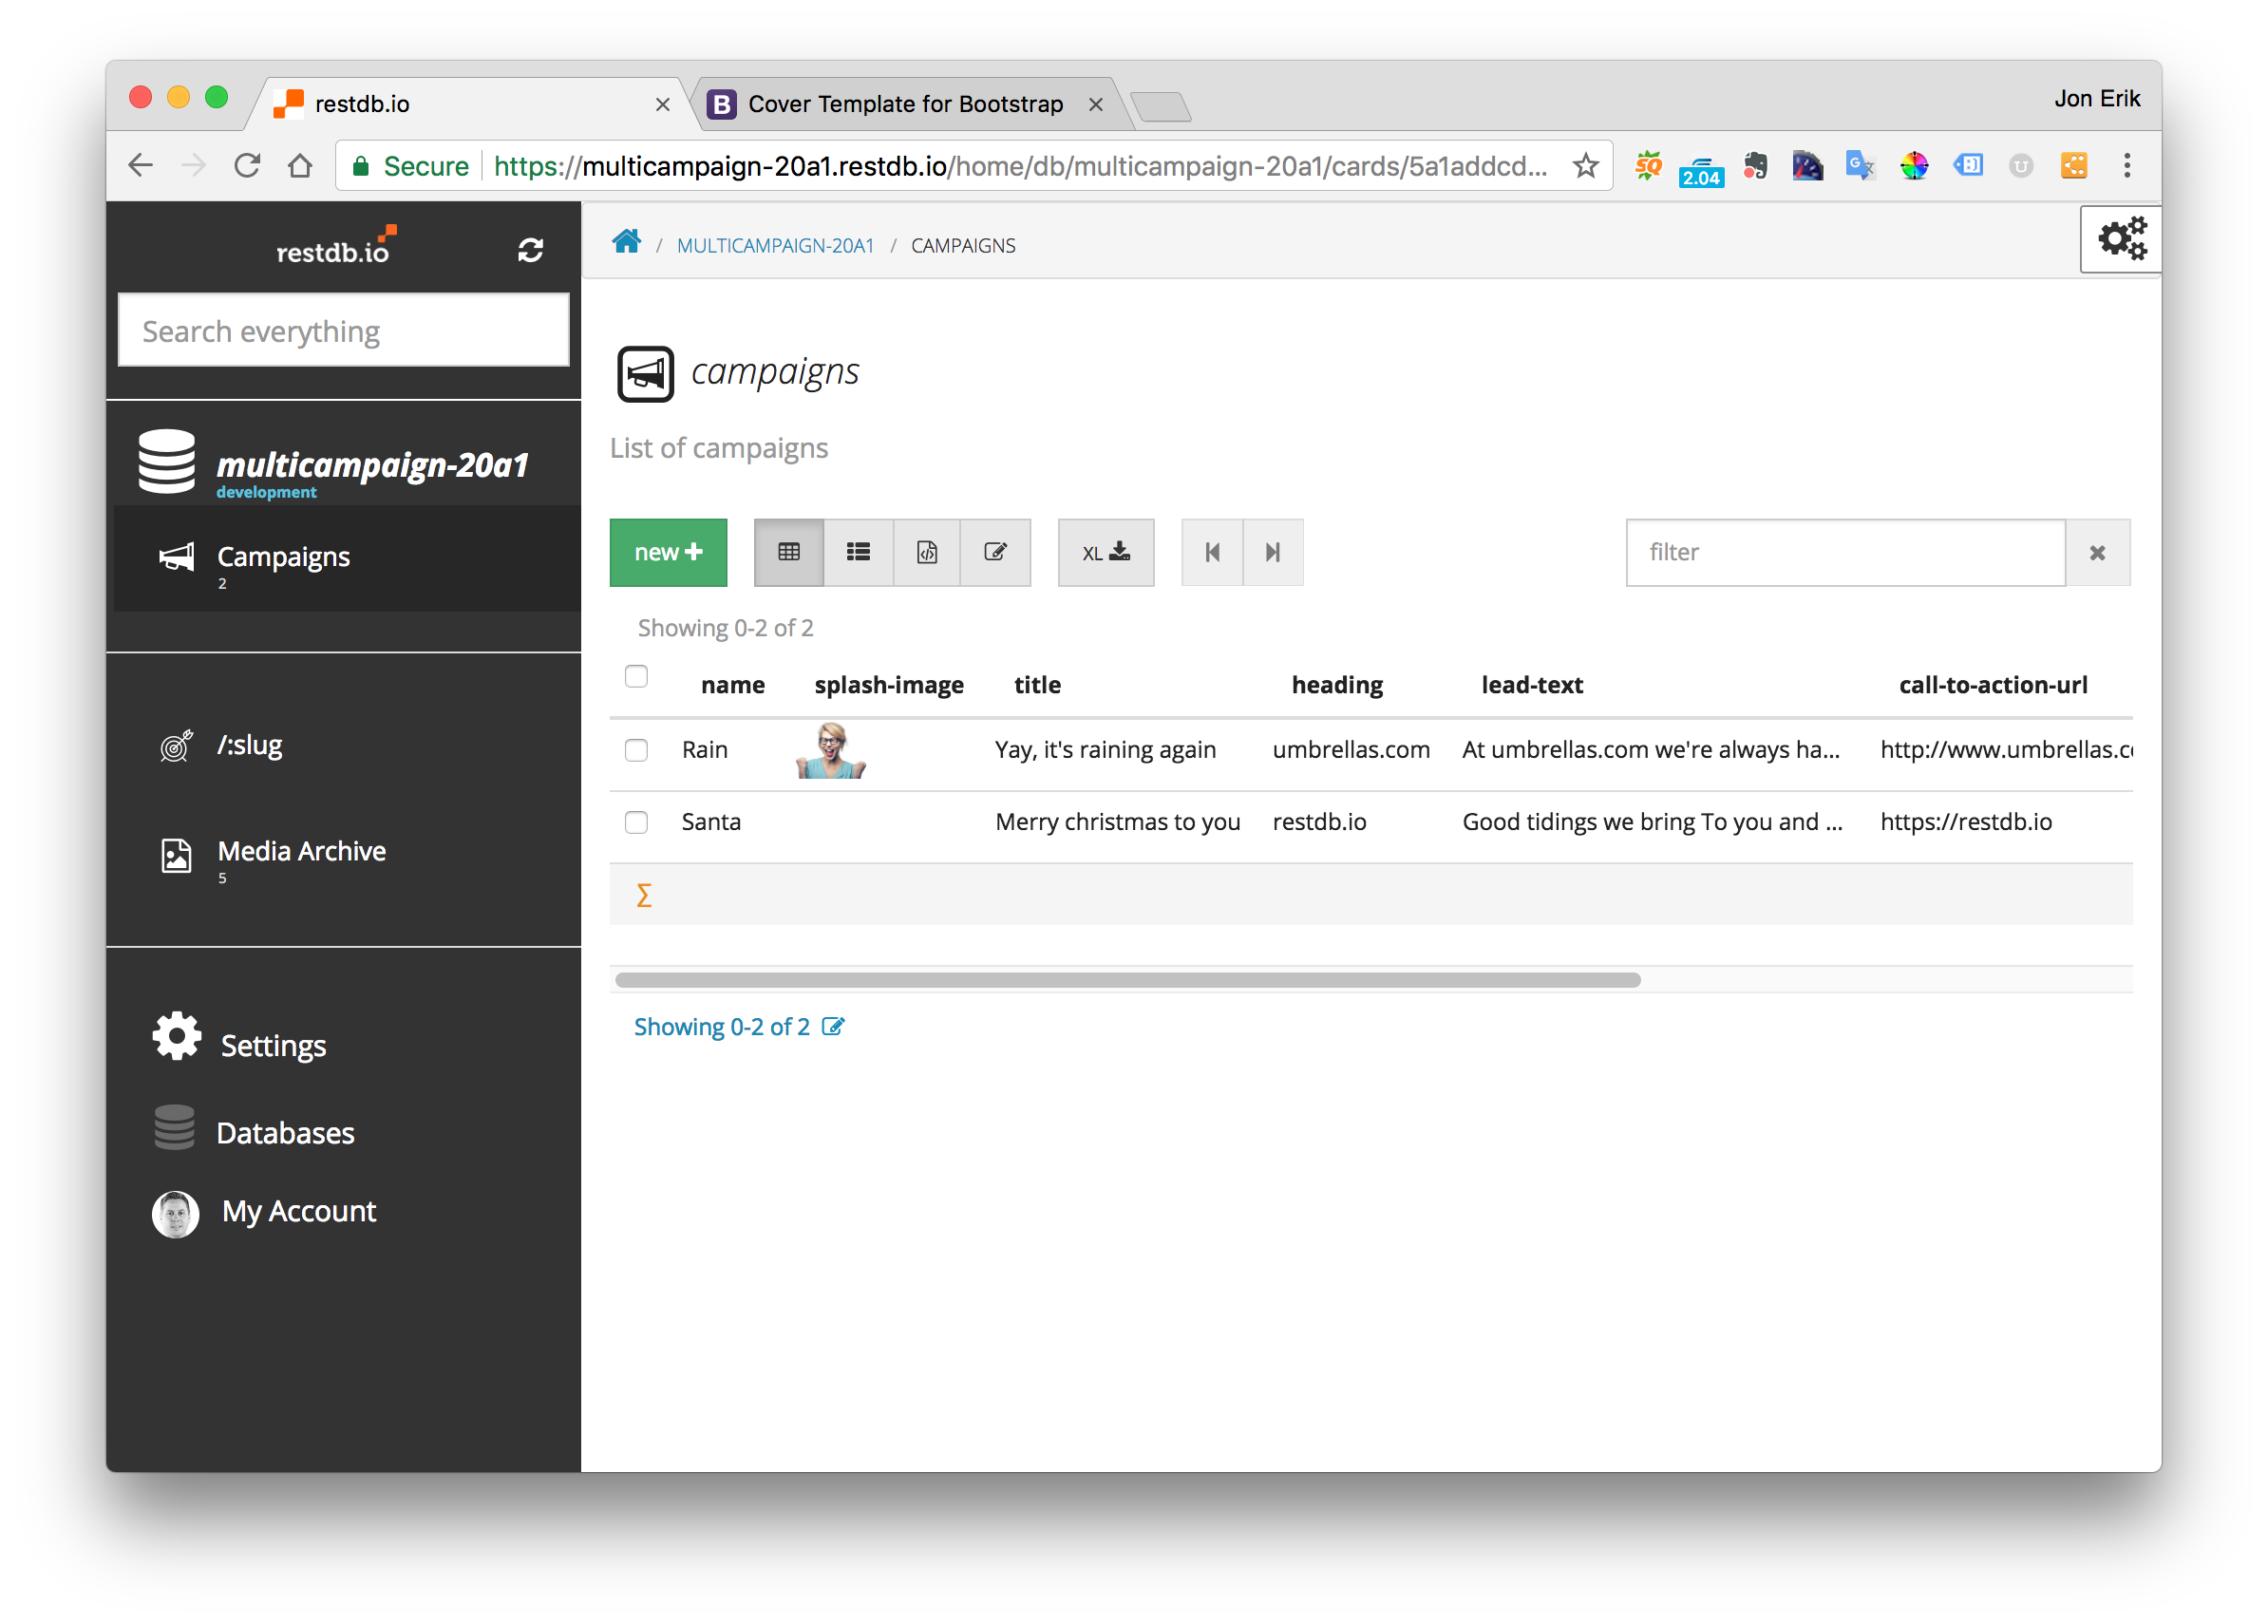
In our example we've created 2 campaigns, one for Christmas cards and another for an eCommerce web shop.
Clicking on the Christmas card campaign row navigates to its detail page. The detail page shows the data fields and edit controls that lets us manage our content.
Pay attention to the special data field friendly-url. This will be used as a primary key for the database query and to give our campaign a friendly URL.
Example of a friendly URL:
https://mysite.com/merry-christmas-to-you
We can use a Codehook to automatically create consistent campaign URLs each time some campaign content is saved to the database. The Codehook will create a friendly-url from the title field. E.g. "Merry christmas to you" will result in a friendly-url like "merry-christmas-to-you".
// Codehook to create friendly URL's for campaigns
const urlify = function(a){return a.toLowerCase().replace(/[^a-z0-9]+/g, "-").replace(/^-+|-+$/g, "-").replace(/^-+|-+$/g, '')};

const beforePUT = (req, res) => {
    let body = req.body;
    body['friendly-url'] = urlify(body['title']);
    log.debug("PUT", body);
    res.end({data: body});
}
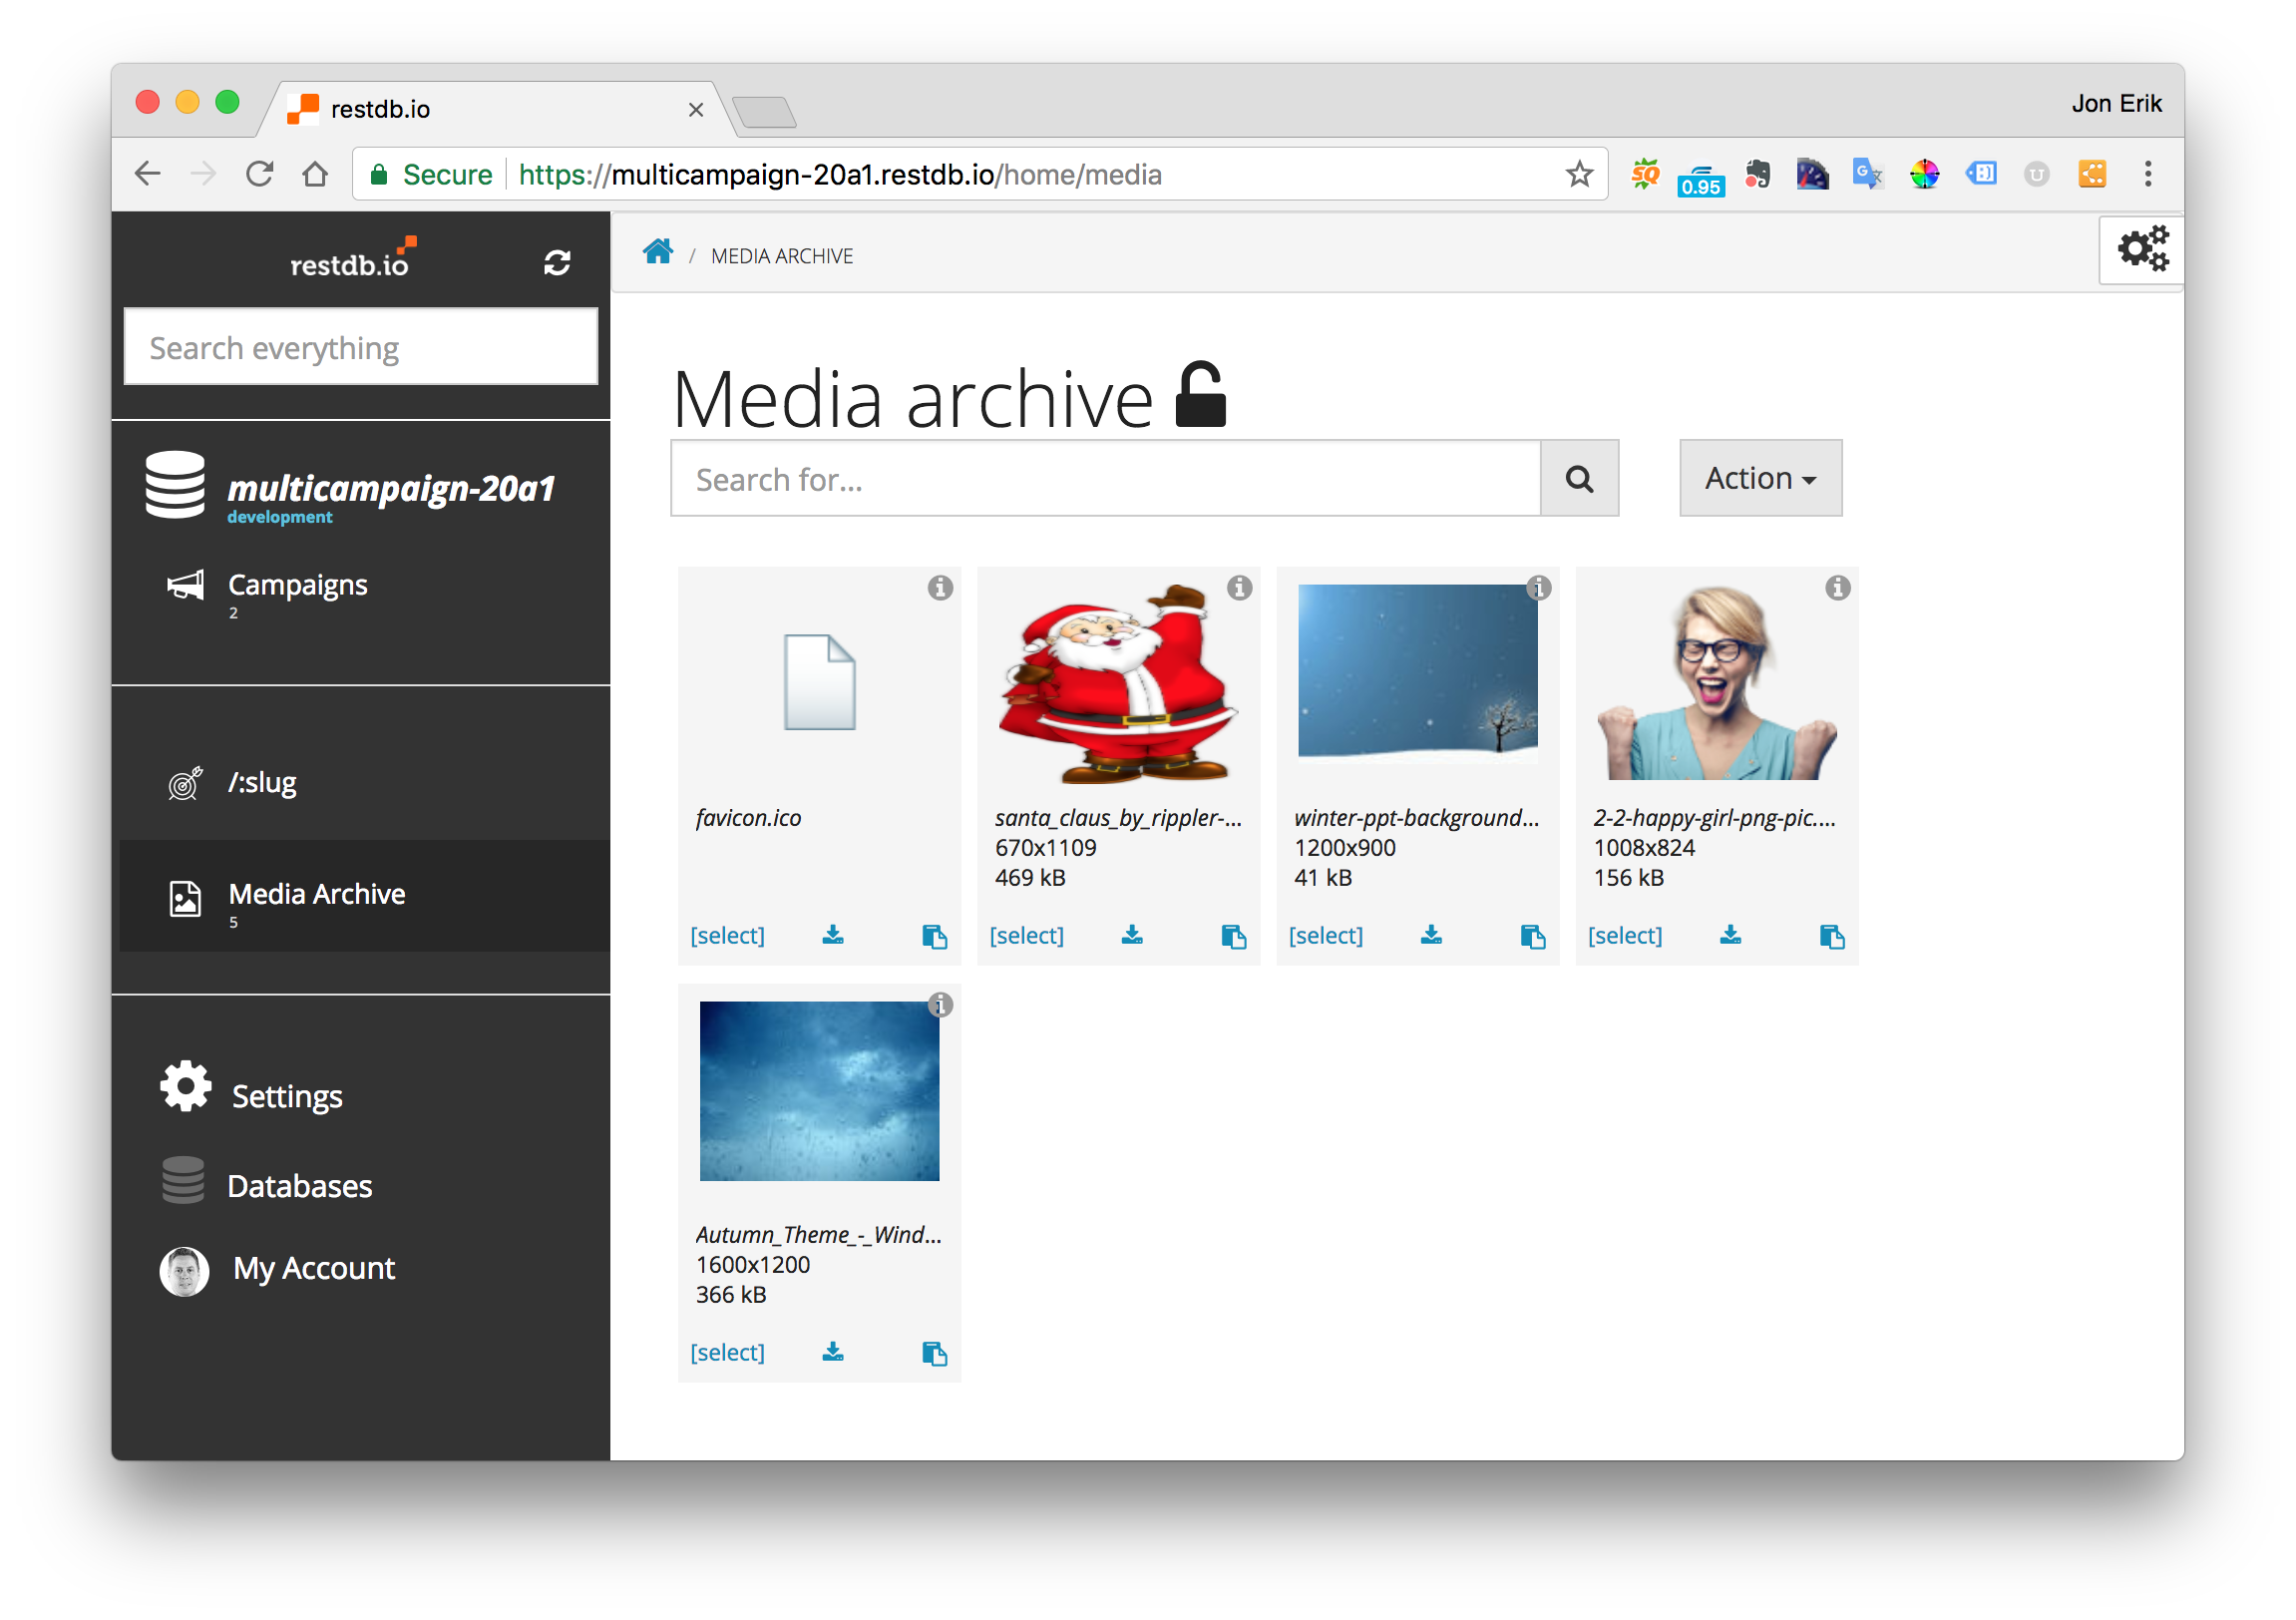
The last step in creating our database is to add background and campaign images to the media archive.
The screenshot below shows the media archive with some sample images.
With our content database all done, we can move on to create the actual campaign instance pages.
3. Set up the campaign Page using the master template
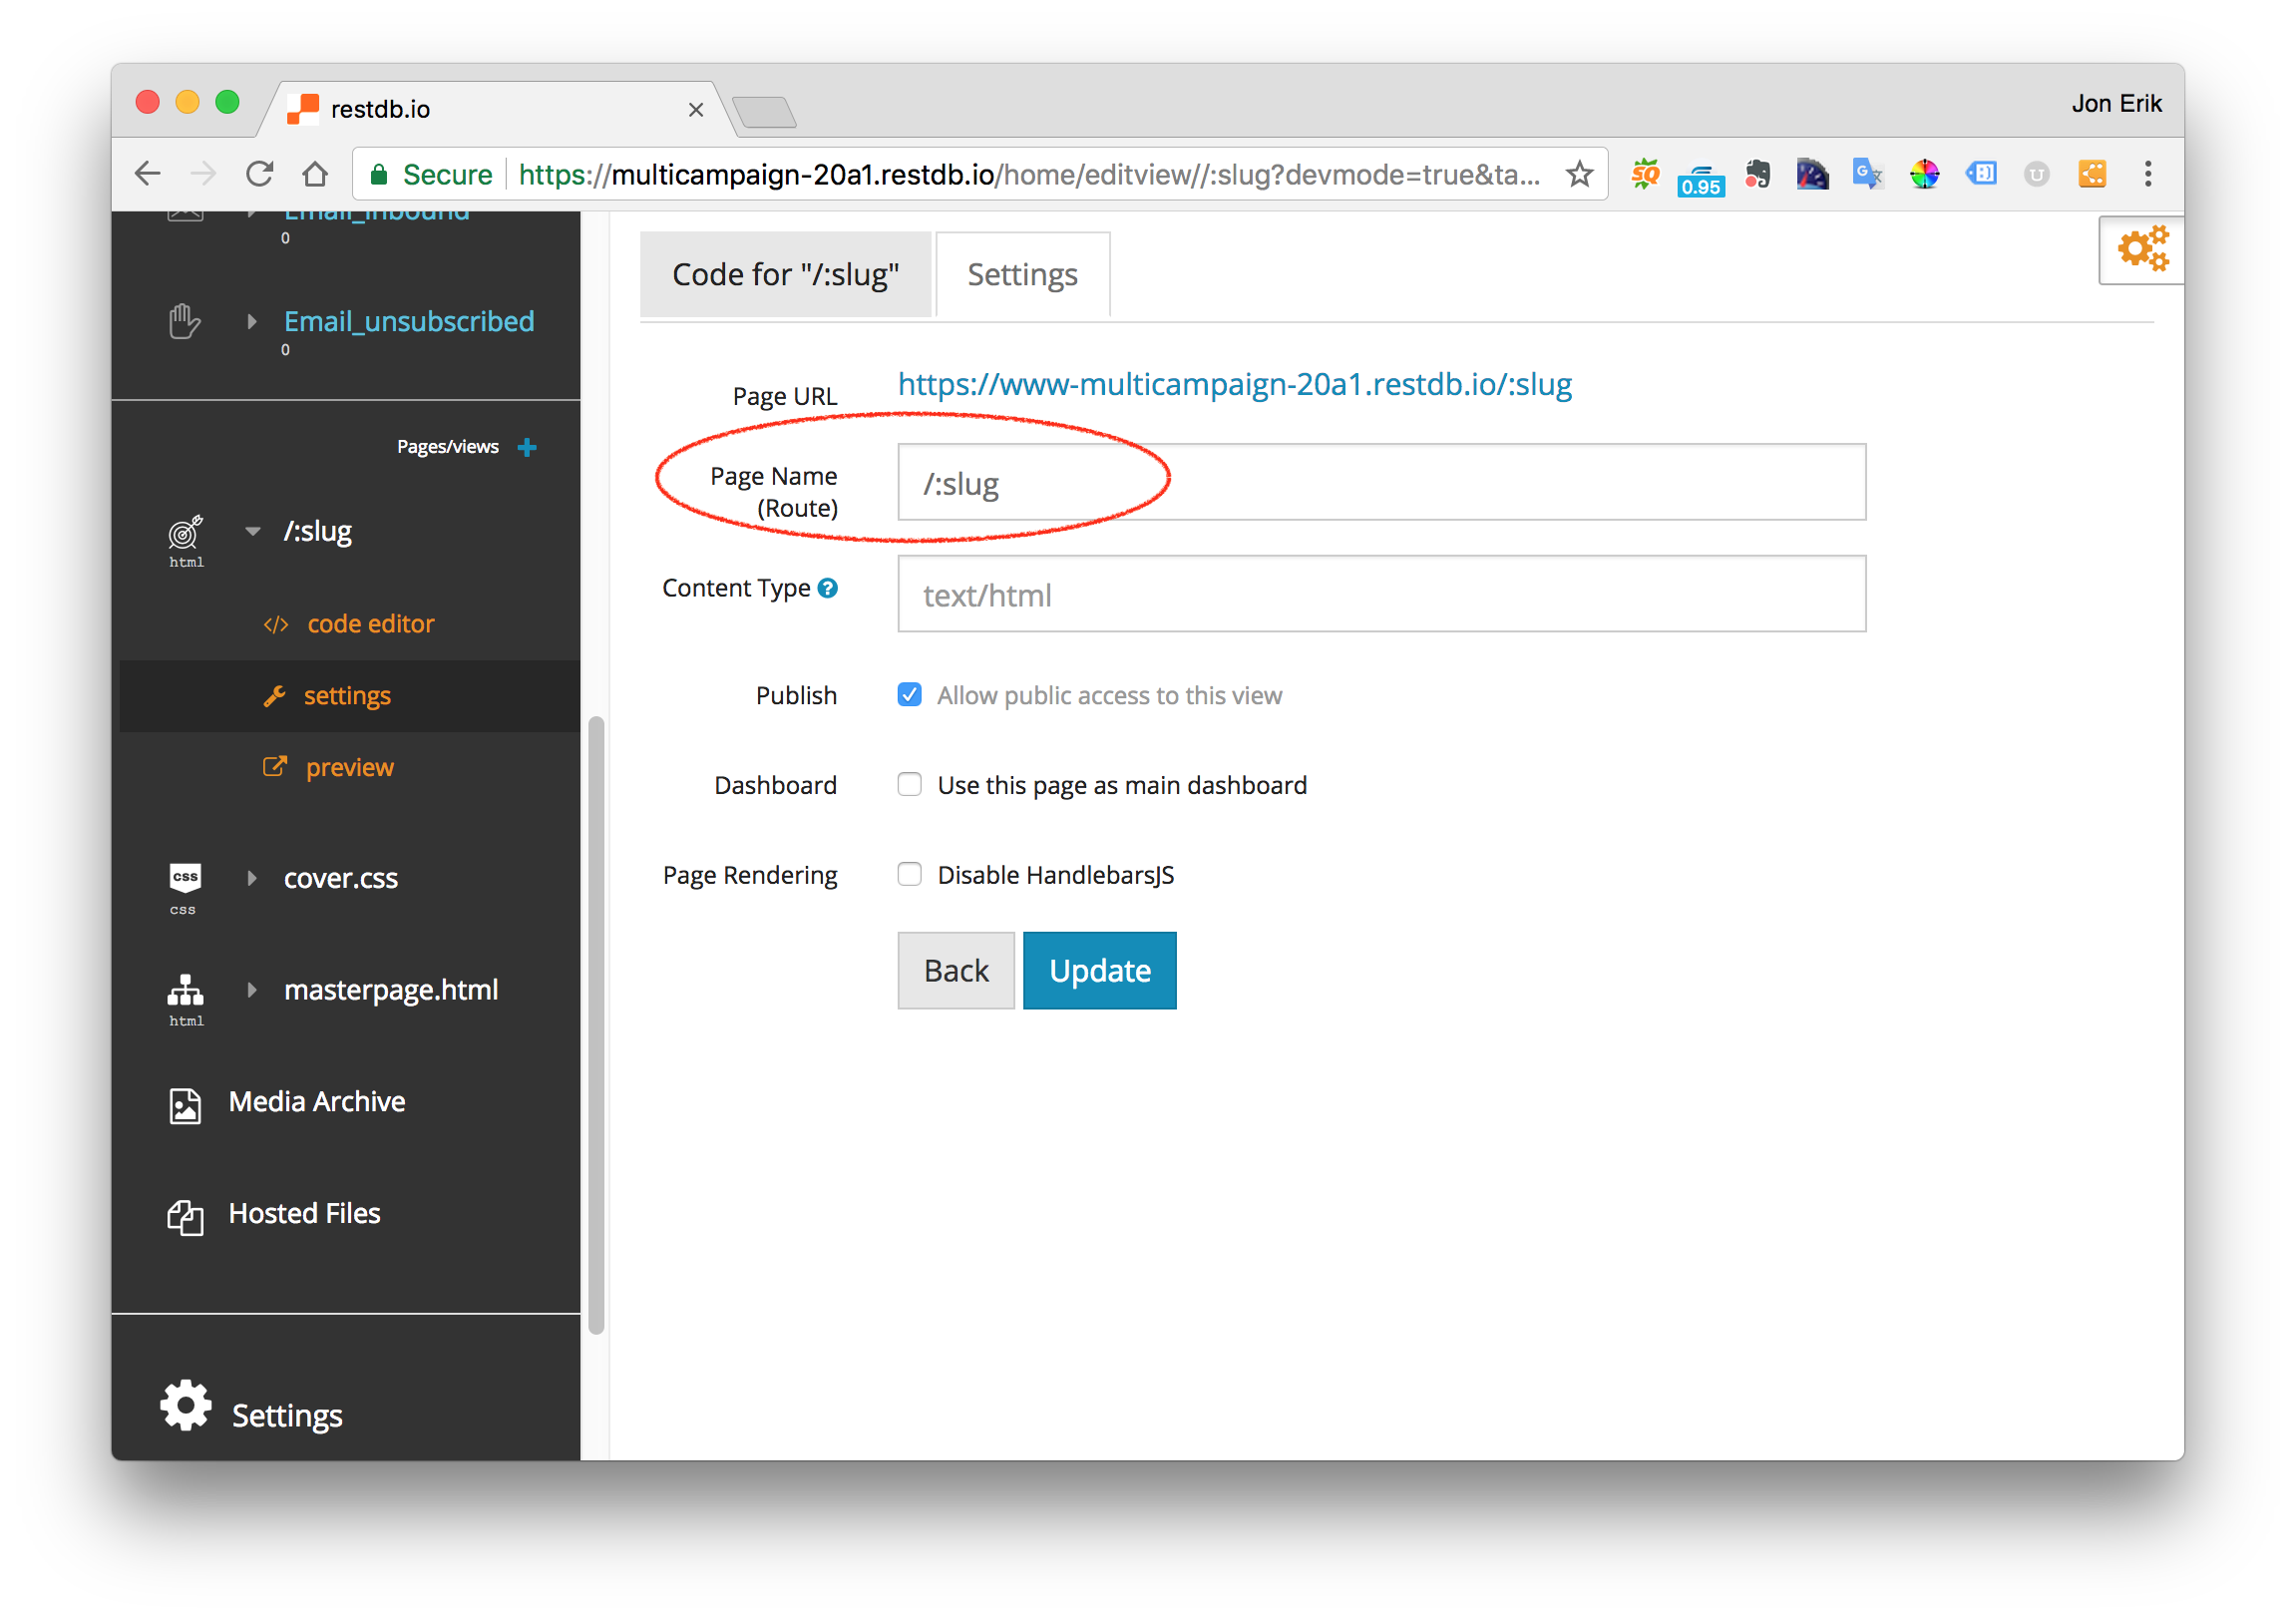
Page routes - Just like in the first step, we create a new Page. But since this Page will have a campaign title as a part of the URL route we must use a special syntax in the Page name.
In our page route, /:slug is retrieved with the path parameter {{pathparams.slug}}. Accessing the page with /santa will put "santa" into {{pathparams.slug}}.
With the Page route settings done we can start writing the actual campaign code.
Database query - The first part of the page contains the data context for the page. This is a query which uses the {{parthparams.slug}} as a filter to fetch the campaign that matches the page route.
{{#context}}
{
    "campaign": {
        "collection": "Campaigns",
        "query": {"friendly-url": "{{pathparams.slug}}" }
    }
 }
{{/context}}
The second part of the page uses the {{#inherit "masterpage.html"}} to specify the master page. And then it uses the {{#block ...}} element to indicate where in the master page each element belongs.
{{#with campaign.[0] }}
    {{#inherit "masterpage.html"}}

        {{#block "campaignTitle"}}
            {{heading}}
        {{/block}}

        {{#block "title"}}
            {{title}}
        {{/block}}

        ...

    {{/inherit}}
{{/with}}
The complete code for the campaign code is shown below:
{{#context}}
{
    "campaign": {
        "collection": "Campaigns",
        "query": {"friendly-url": "{{pathparams.slug}}" },
        "hints": {"$max": 1}
    }
 }
{{/context}}

{{#unless campaign}}
    <h4>No campaign here.</h4>
    {{else}}
    {{#with campaign.[0] }}
        {{#inherit "masterpage.html"}}

            {{#block "campaignTitle"}}
                {{heading}}
            {{/block}}

            {{#block "title"}}
                {{title}}
            {{/block}}

            {{#block "lead"}}
                {{markdown lead-text}}
            {{/block}}

            {{#block "callToAction"}}
                <a href="{{call-to-action-url}}" class="btn btn-block btn-lg btn-secondary">{{call-to-action}}</a>
            {{/block}}

        {{/inherit}}
    {{/with}}
{{/unless}}
4. Host the campaign Page
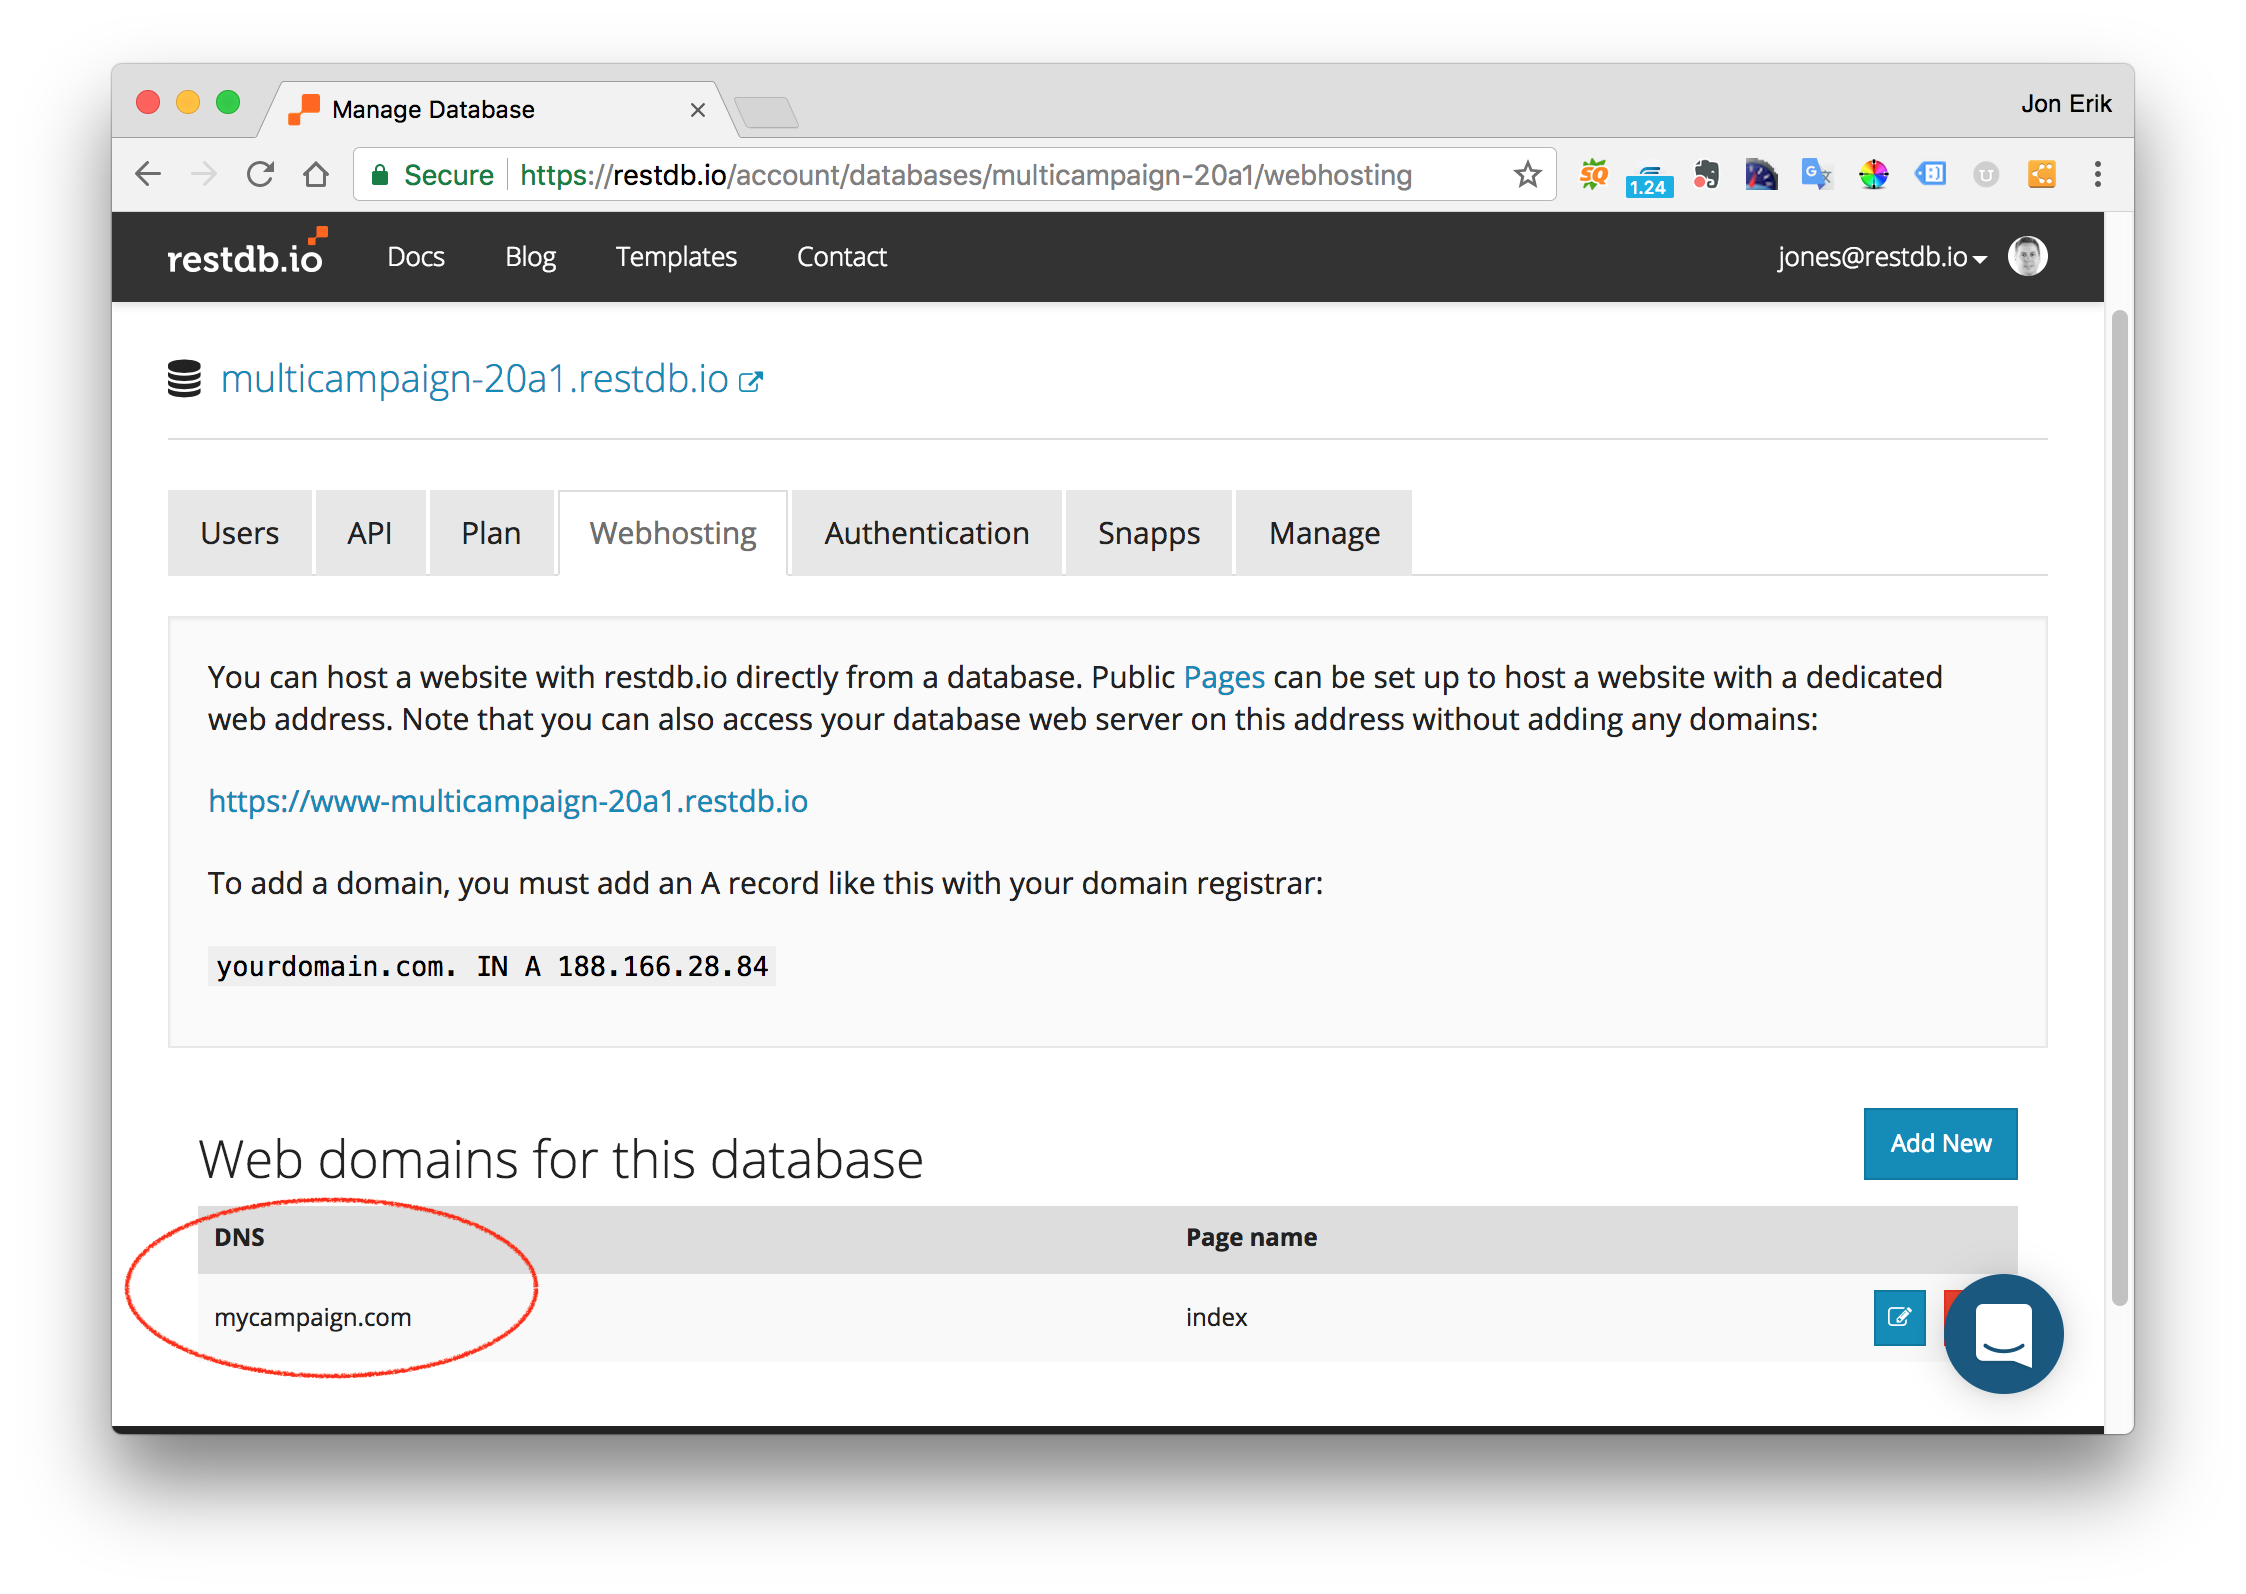
You can add one or multiple domain names in the Settings page of your database. If you don't have a name you can also use a special prefix to the database.
E.g. if your database is named santa-ffe6.restdb.io, you can access the campaign pages from the URL https://www-santa-ffe6.restdb.io
Example campaign pages
The two example campaigns below shows how the template renders with different data content.
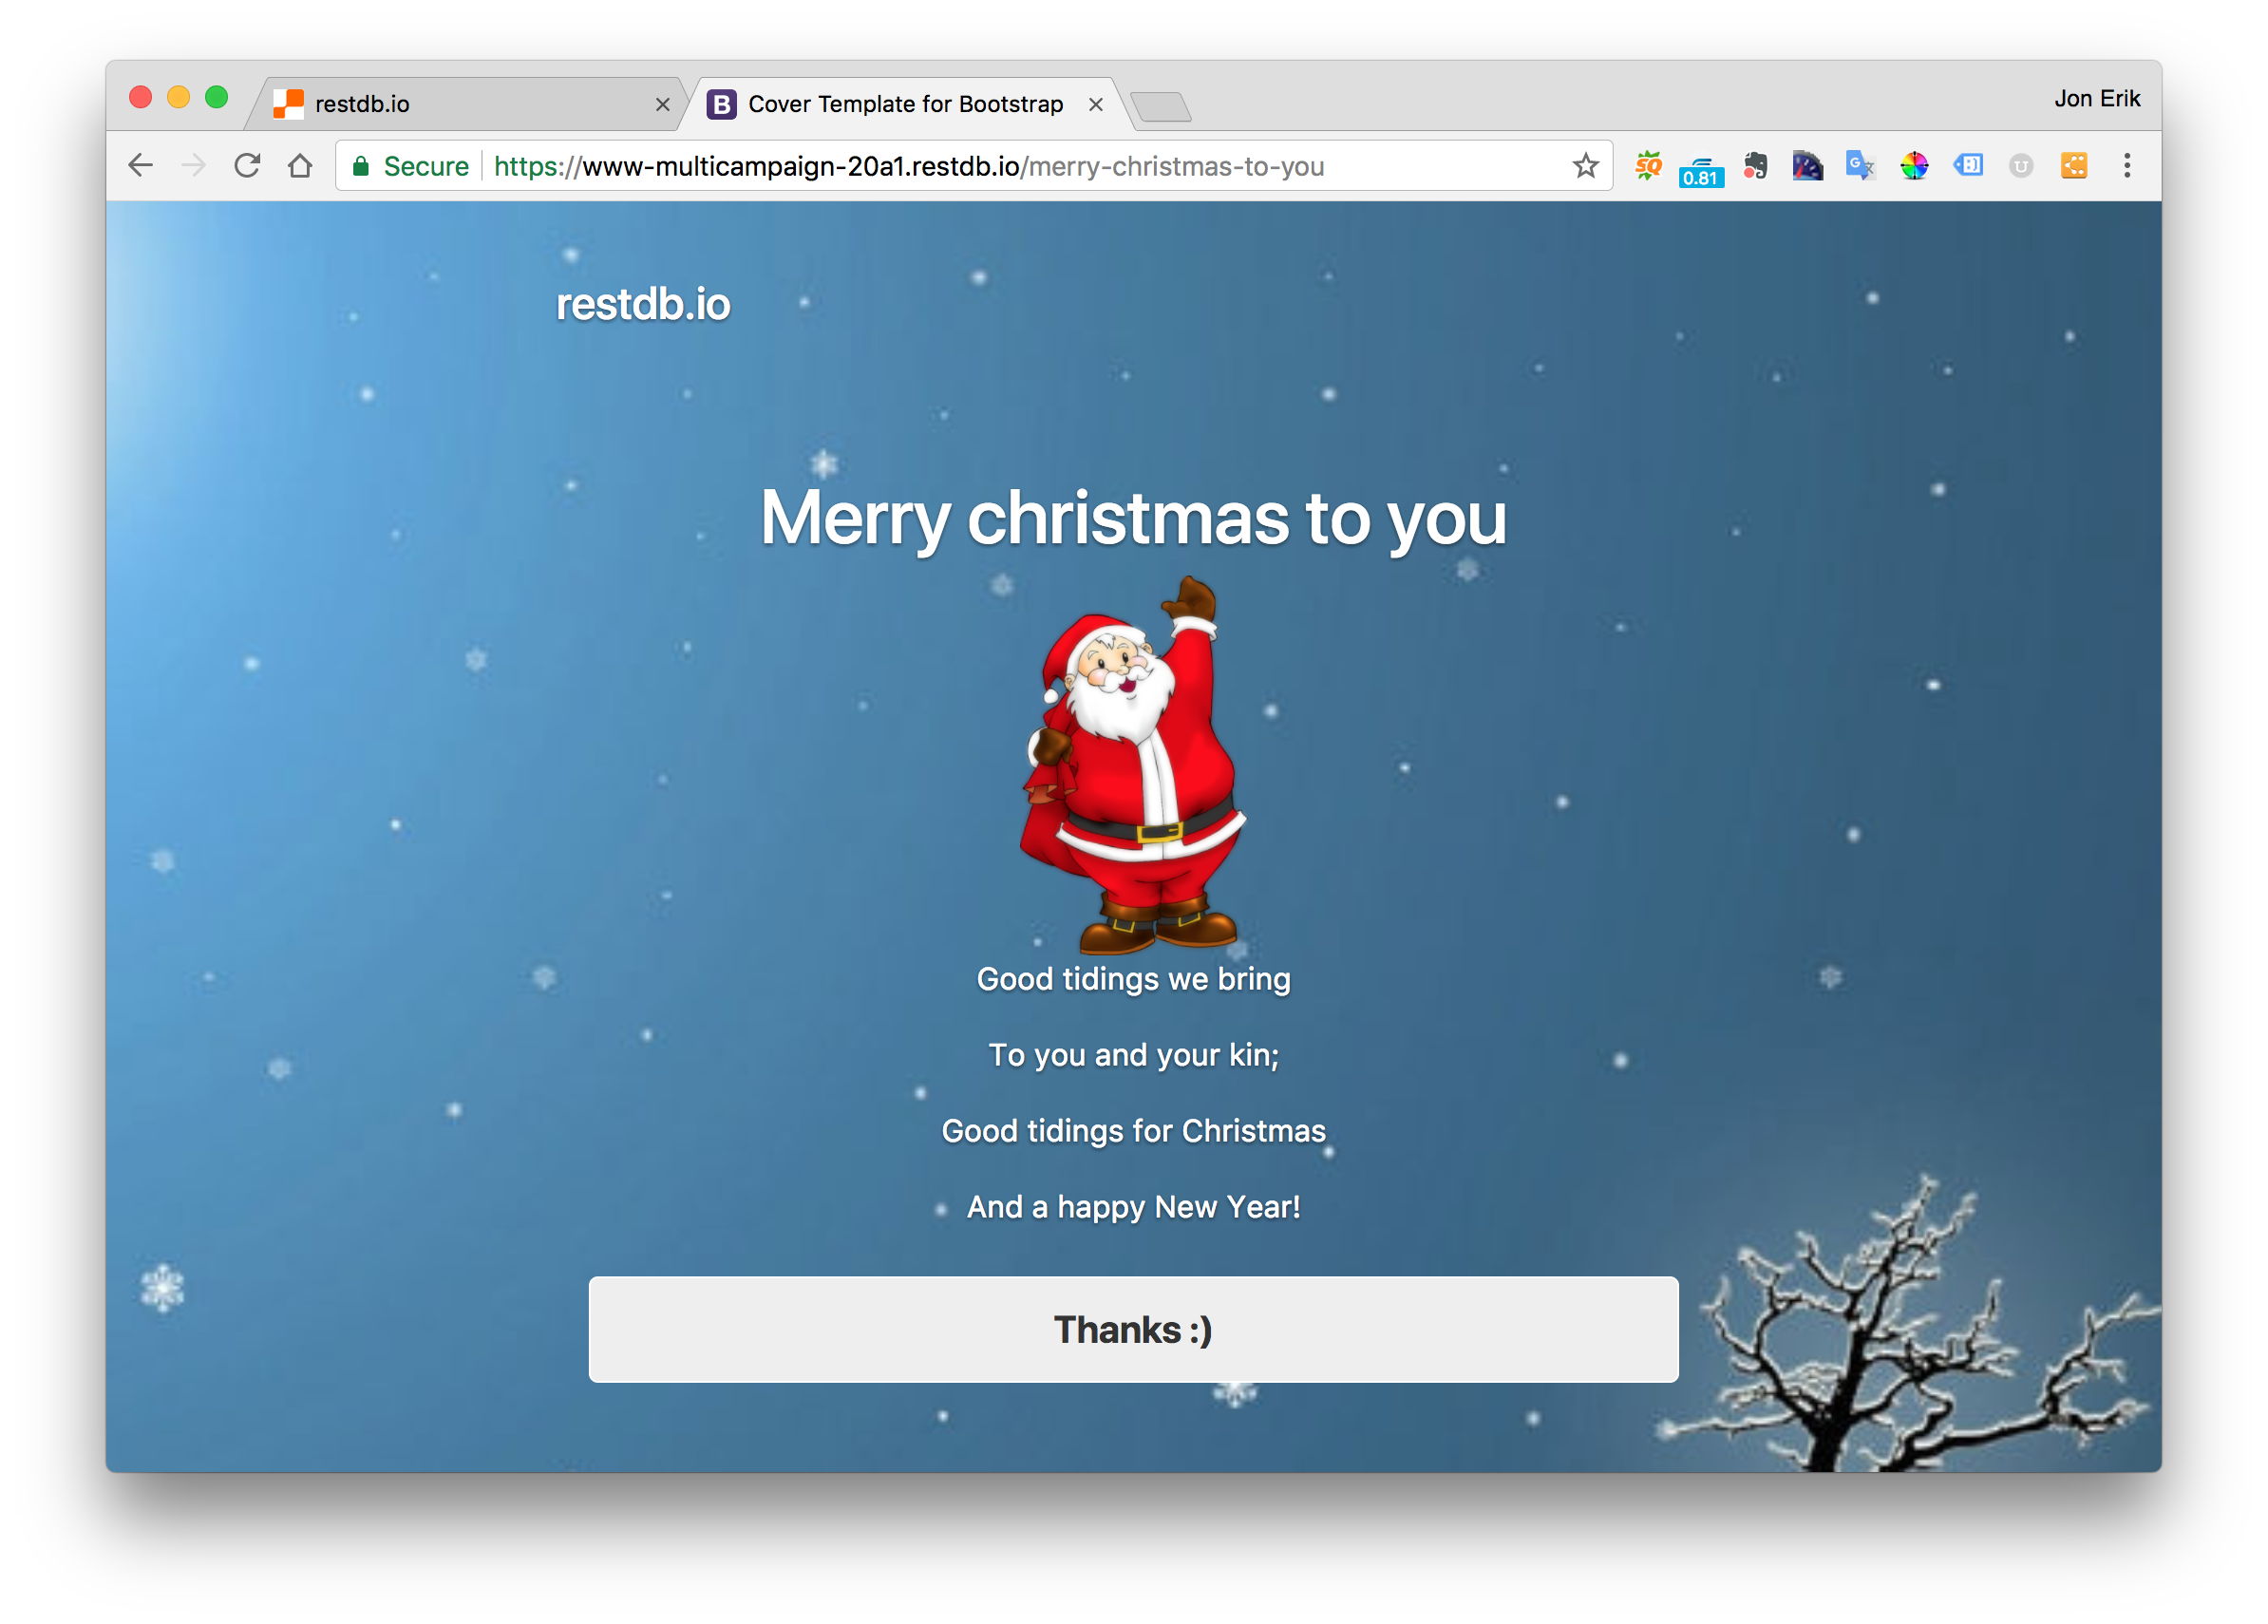
Link to demo: https://www-multicampaign-20a1.restdb.io/yay-it-s-raining-again
Summary
This tutorial has given you a brief introduction of how to create dynamic campaign landing pages using HTML, CSS and just a little code using a restdb.io database with Pages. Pages are simple to learn, fast to develop and easy to change and adapt. Happy campaign-coding!
Tip: if you're new to Bootstrap 4 or need a go-to resource for the various classes used, do checkout this cheat sheet.


 In this blog post we'll show you how to create a multi campaign landing page using