Setup
We will be using the example application found in the template catalog https://restdb.io/templates#webform. This is a simple database with a single collection for storing web contacts and an IFrame plugin that you can use in any web page to collect emails and some additional data.
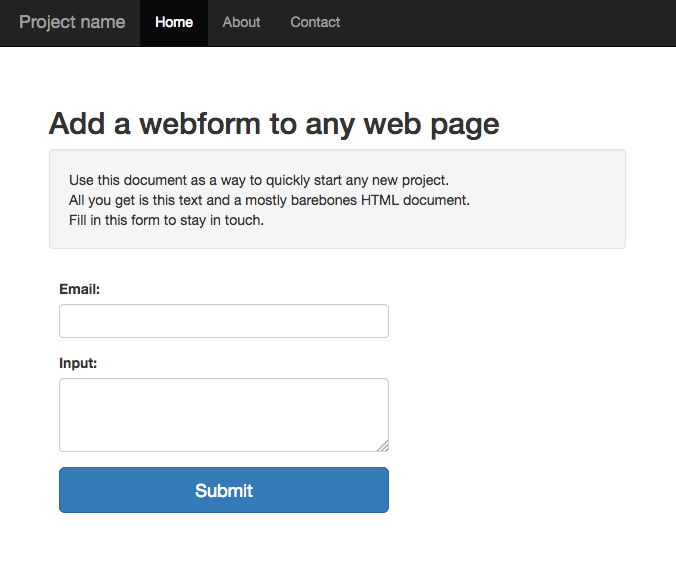
The example contact form looks like this screenshot:
The contact form is an IFrame to a Page created with the restdb.io form generator. This Page just POST data to the Contacts collection. The IFrame code is shown below:
<iframe src="https://www-webform-6bcb.restdb.io/webform" style="border: 0; width: 100%; height: 100vh"></iframe>After some postings from a web page, your Contacts collection might look something like this screenshot:
The next section shows how we can use a Codehook to send a simple "thank you" email to users when they submit the contact form.
The email template
It’s important to send emails that works well on all major email readers, even across desktops and mobiles. In this example we have copied an open source version from Lee Munroe into a restdb.io Page.
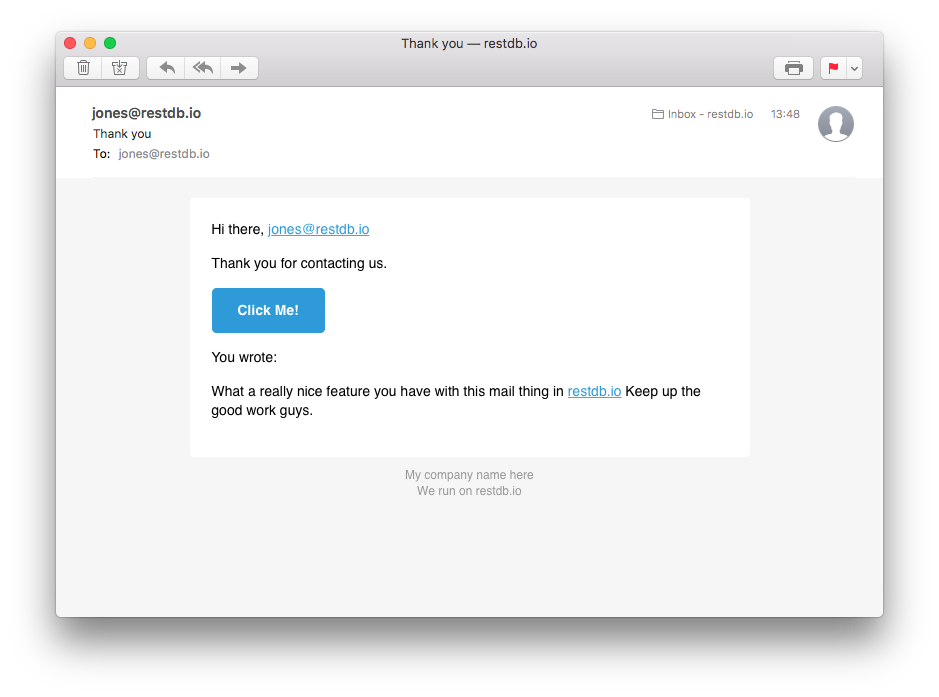
The email template looks something like this screenshot:
Notice the {{name}} and {{input}} fields. These are Handlebars tags that will be replaced with database content before sending the actual email.
Mailgun setup
Before we can call Mailgun from our Codehook we need to add some variables to our global database settings in our restdb.io database.
{
  "formapikey": "<Your database CORS API key here>",
  "mailgun": {
    "from": "yourmail@yourdomain.com",
    "domain": "<Your mailgun domain name here>",
    "apikey": "<Your mailgun apikey here>"
  }
}
Replace these variables with your own before testing (in development mode: top left menu / Settings tab).
Codehook
In your database you’ll find the code for a collection under the Codehook tab (in development mode).
Because we want to send an email to new contacts in our database, we create a Codehook named beforePOST :
// on a new Contact form submit
function beforePOST(req, res){
    request({
        headers : {"x-apikey": context.apikey},
        url: "https://"+context.dbname+".restdb.io/views/mailtemplate"
    }, function(error, response, data){
        if (error) throw new Error(error);

        sendMail(req.body, data, function(){
           res.end();
        });
    })
}
Notice the context variable that helps you with keeping apikeys and database name outside of your code.
This function first fetches the Handlebars HTML template from the database, then calls the sendMail subroutine, which in turn calls the Mailgun API.
The code for the ´sendMail´ is shown below:
// send mail using Mailgun API
function sendMail(body, templatestr, callback) {
    var YOUR_DOMAIN_NAME = context.settings.mailgun.domain;
    var apikey = context.settings.mailgun.apikey;

    var options = {
        method: "POST",
        url: "https://api:"+apikey+"@api.mailgun.net/v3/"+YOUR_DOMAIN_NAME+"/messages",
        headers: {
            'content-type': 'application/x-www-form-urlencoded'
        },
        form: {
            from: context.settings.mailgun.from,
            to: body.email,
            subject: "Thank you",
            html: template(templatestr, {"name": body.email, "input": body.input})
        }
    };
    log.info("Sending mail with Mailgun...");
    request(options, function (error, response, body) {
      if (error) throw new Error(error);

      callback(body);
    });
}
The result
The finished result email looks like this example screenshot:


