The very first step is to create a restdb.io database and a collection to hold the blog posts. This should normally only take a few minutes. I will not cover how to do that here. Read more about that in our quick start guide.
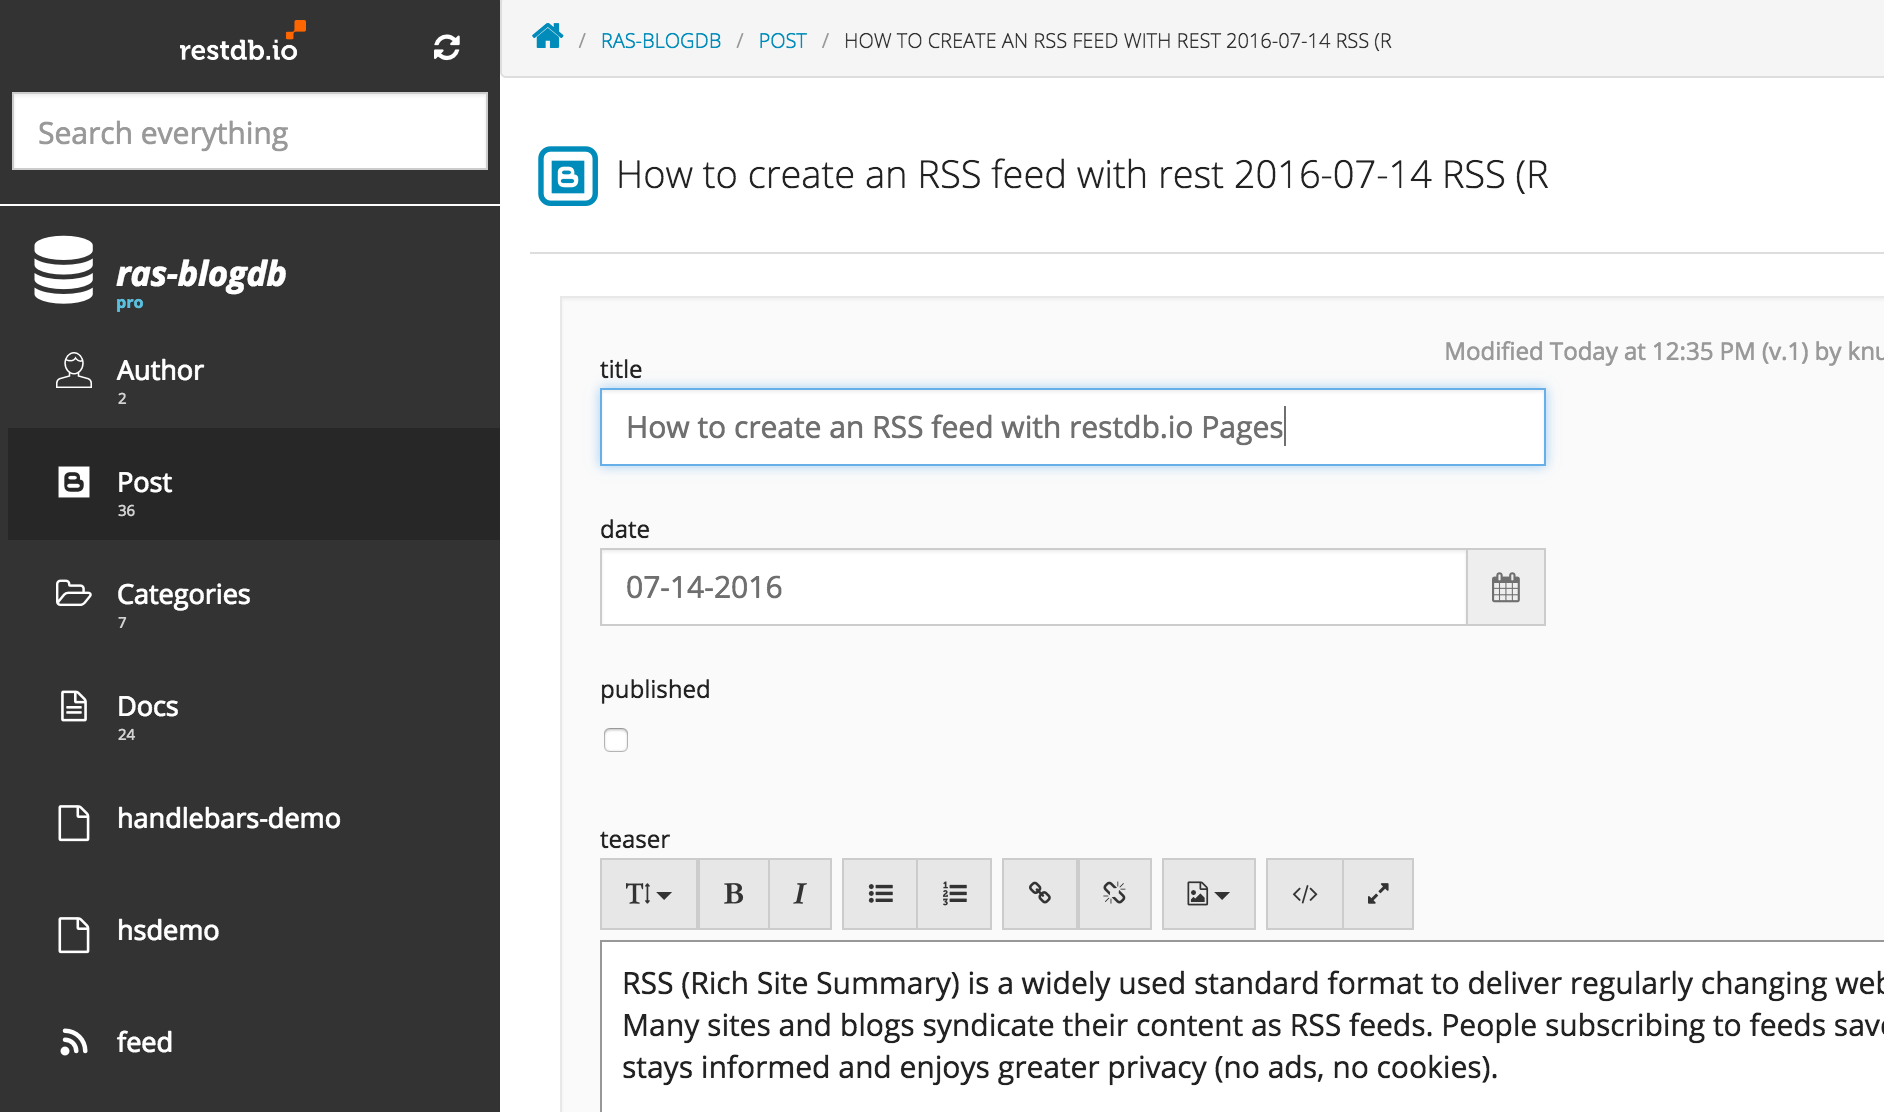
Here you see how it looks when you edit a database record (blog post) with the content for this article (a bit meta...I know).
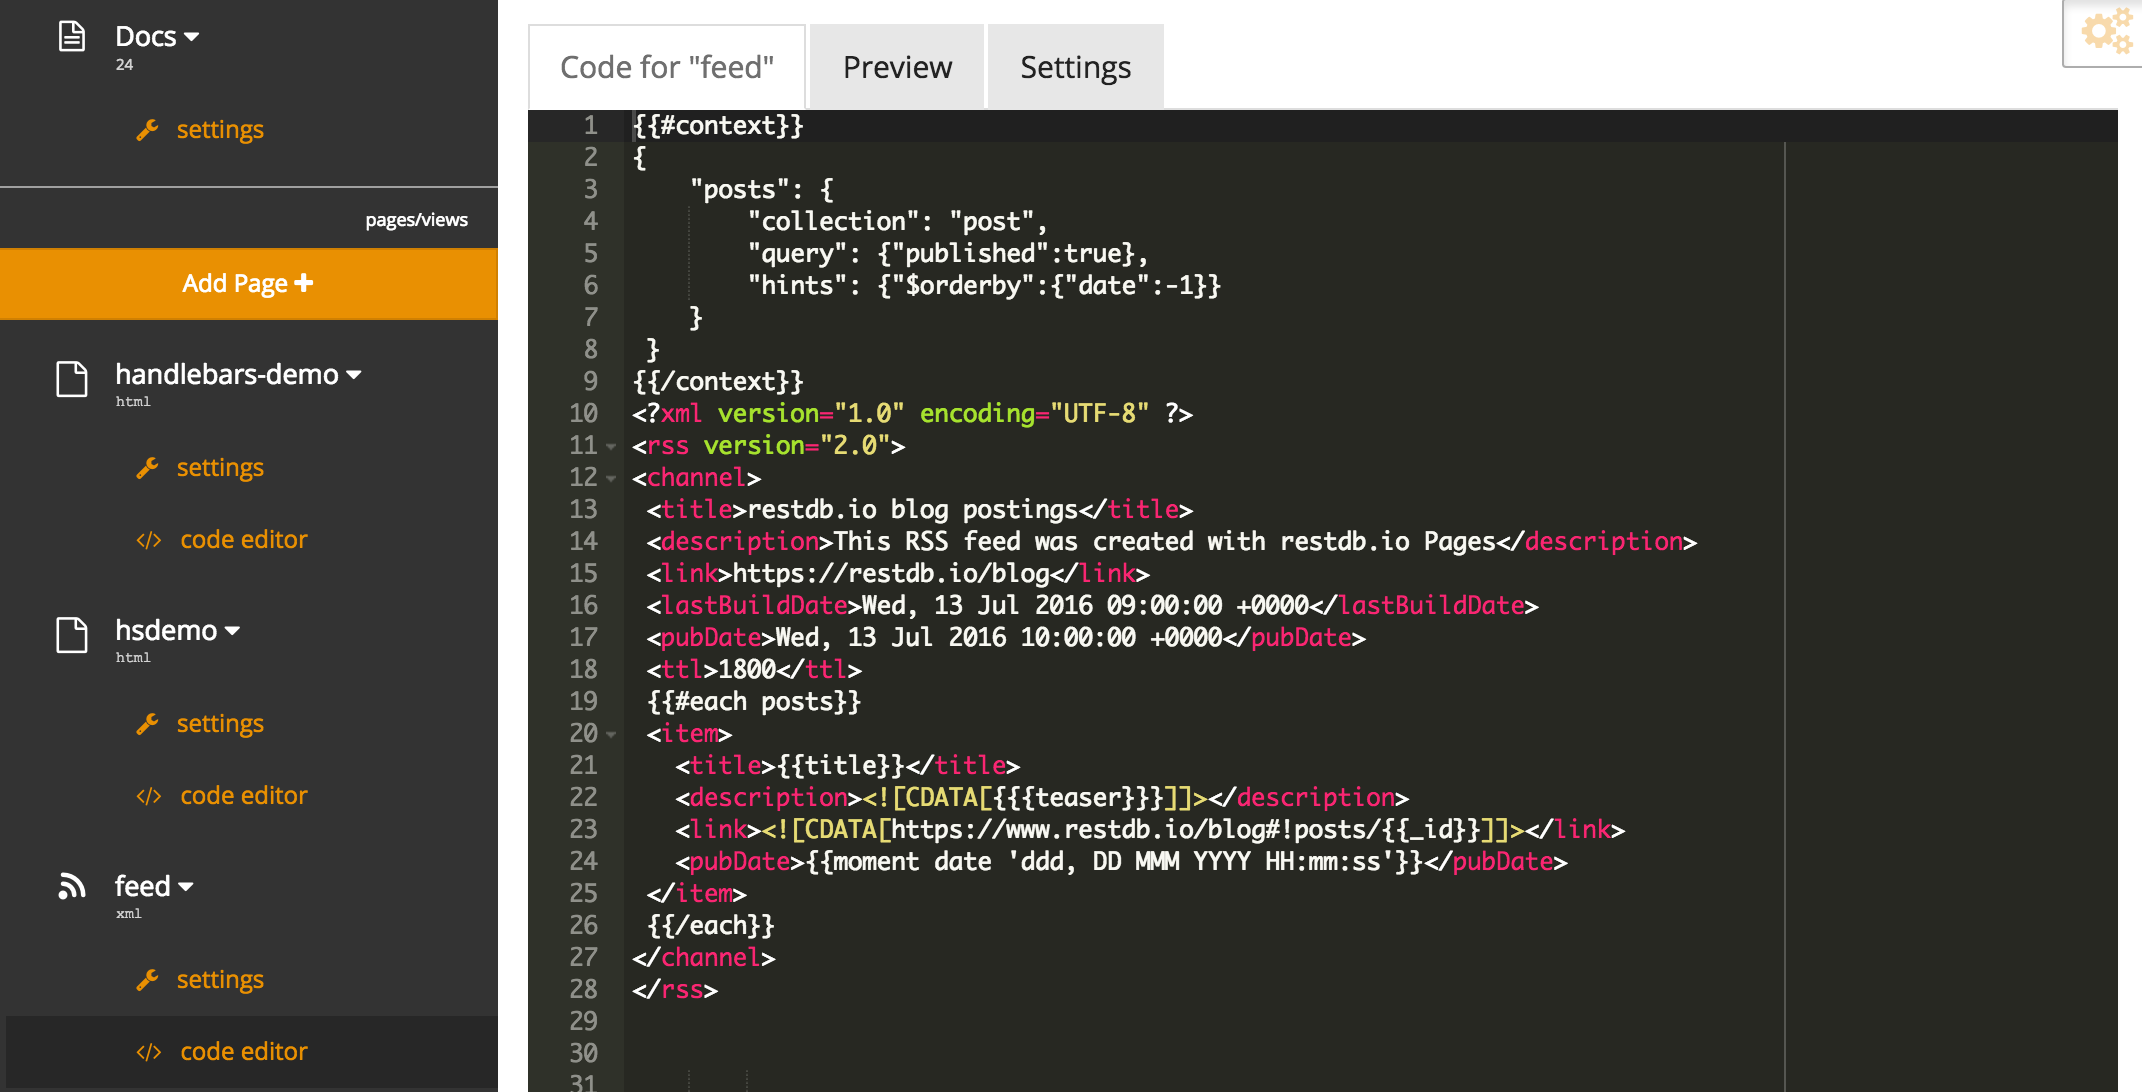
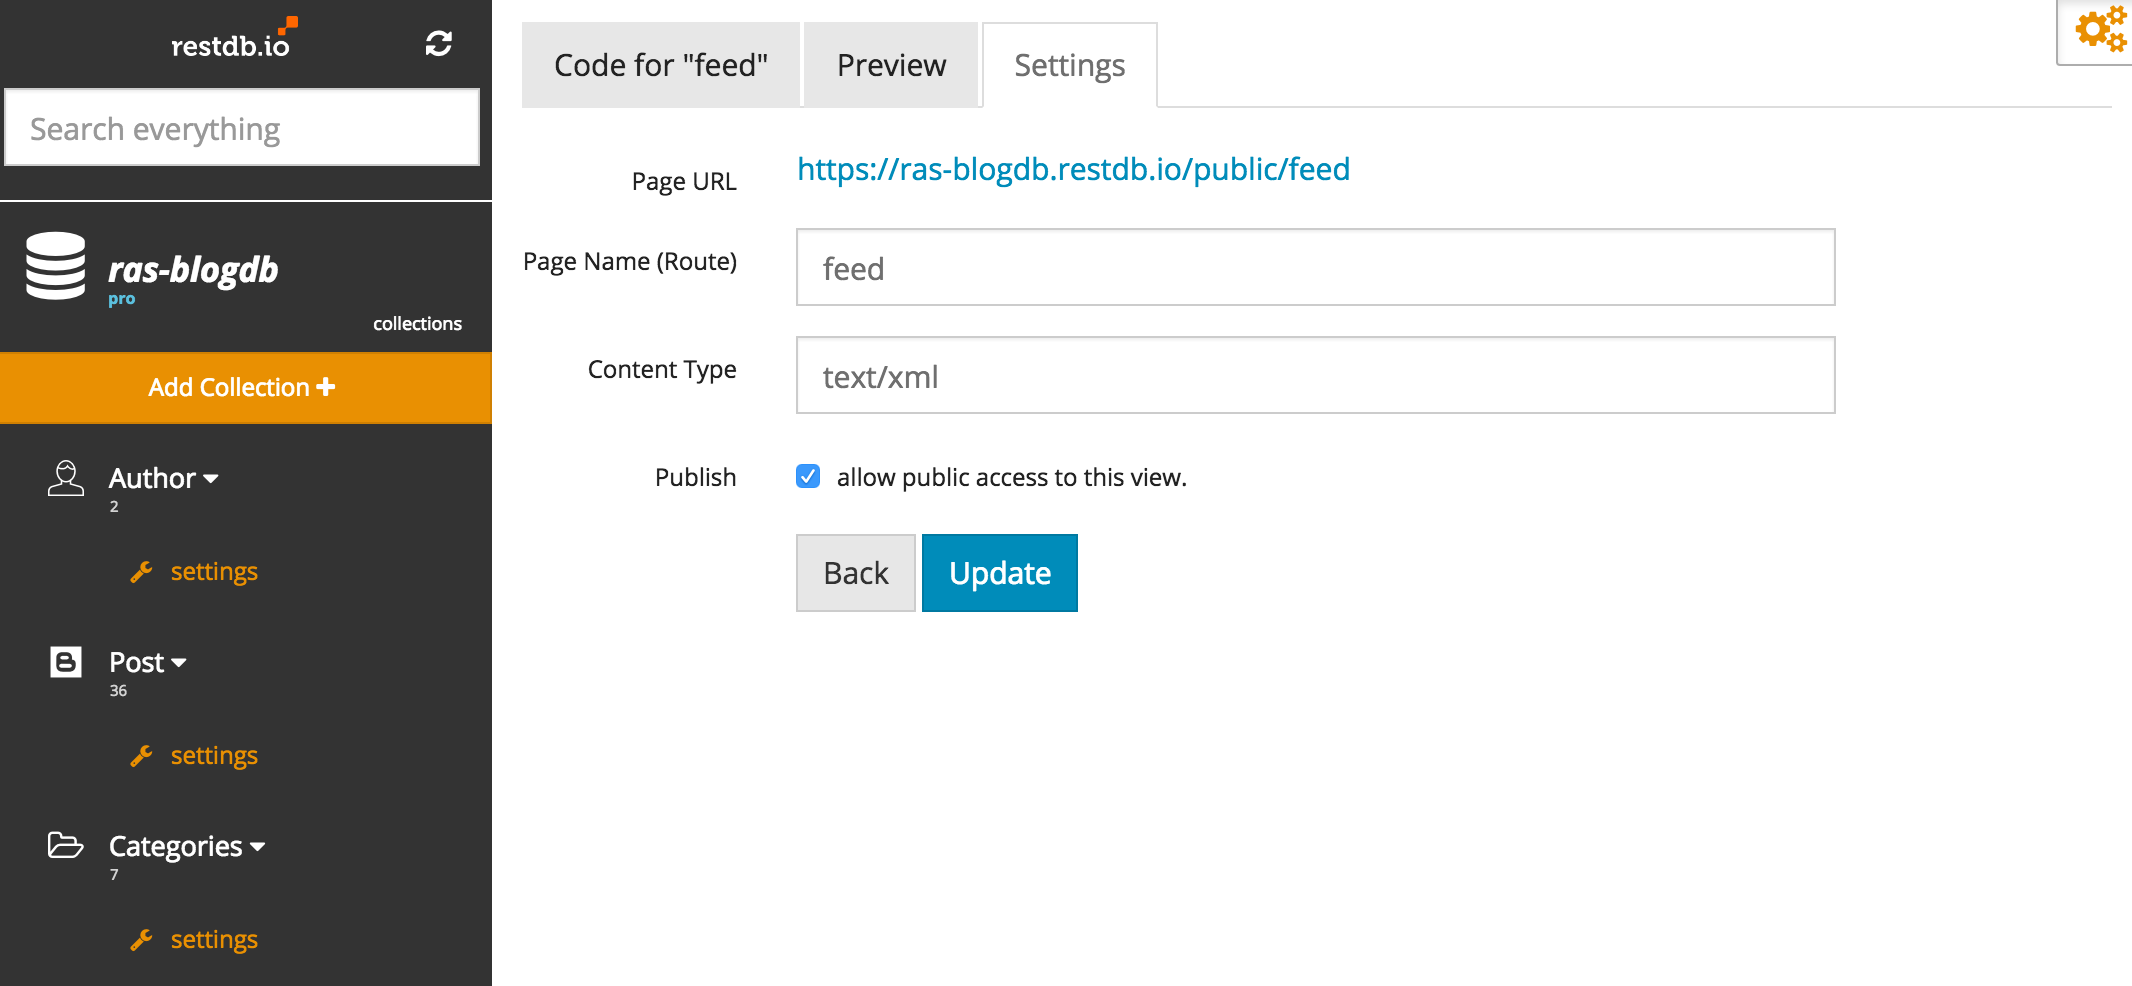
{{#context}} tag fetches the restdb.io data we need for this view, which is all published "posts" from the "post" collection sorted by the newest blogpost first. Then we use {{#each}} to loop through all the records and render the correct XML markup for each blog item. Now, we need to set the right content type. To set this, we go to the "Settings" of the page. In this case the content type could be application/rss+xml or simply text/xml. We chose the latter. The final step is to get this out on the web so that people can start consuming our blog posts. To do that, we must make the Page public.


