Getting started
We assume you have done the following first:
- created a restdb.io database
- added a restdb.io collection with the data fields you need (for example, an "applications" collection for job applications)
- written your own web form and code or used the Web Form Generator to create HTML + Javascript necessary to post data to restdb.io and that you've put this code on some web page.
- created a CORS API key that you use with the form to post to the restdb.io collection
Now that you have a form that can submit data directly into restdb.io, you are ready to create a Gmail Webhooks-integration with Zapier.
If you don't have a Zapier.com account, you will need to sign up first.
Setting up the Zap
According to Zapier: "Zapier connects the apps you use, automate tasks, and gets more out of your data. Zaps are automations created using Triggers and Actions. You can use Zaps to connect any two Zapier-supported apps to each other."
What we want to do is to have a restdb.io Webhook that calls a Gmail Zap when we receive a new job application from our job application form.
Briefly, the steps you need to go through are as follows:
1) Create a Webhook zap in Zapier
2) Add a Gmail-action to the zap
3) Connect it with our restdb.io Webhook
4) Create an email template with the fields from the restdb.io collection
5) Test it!
Let's go into more detail.
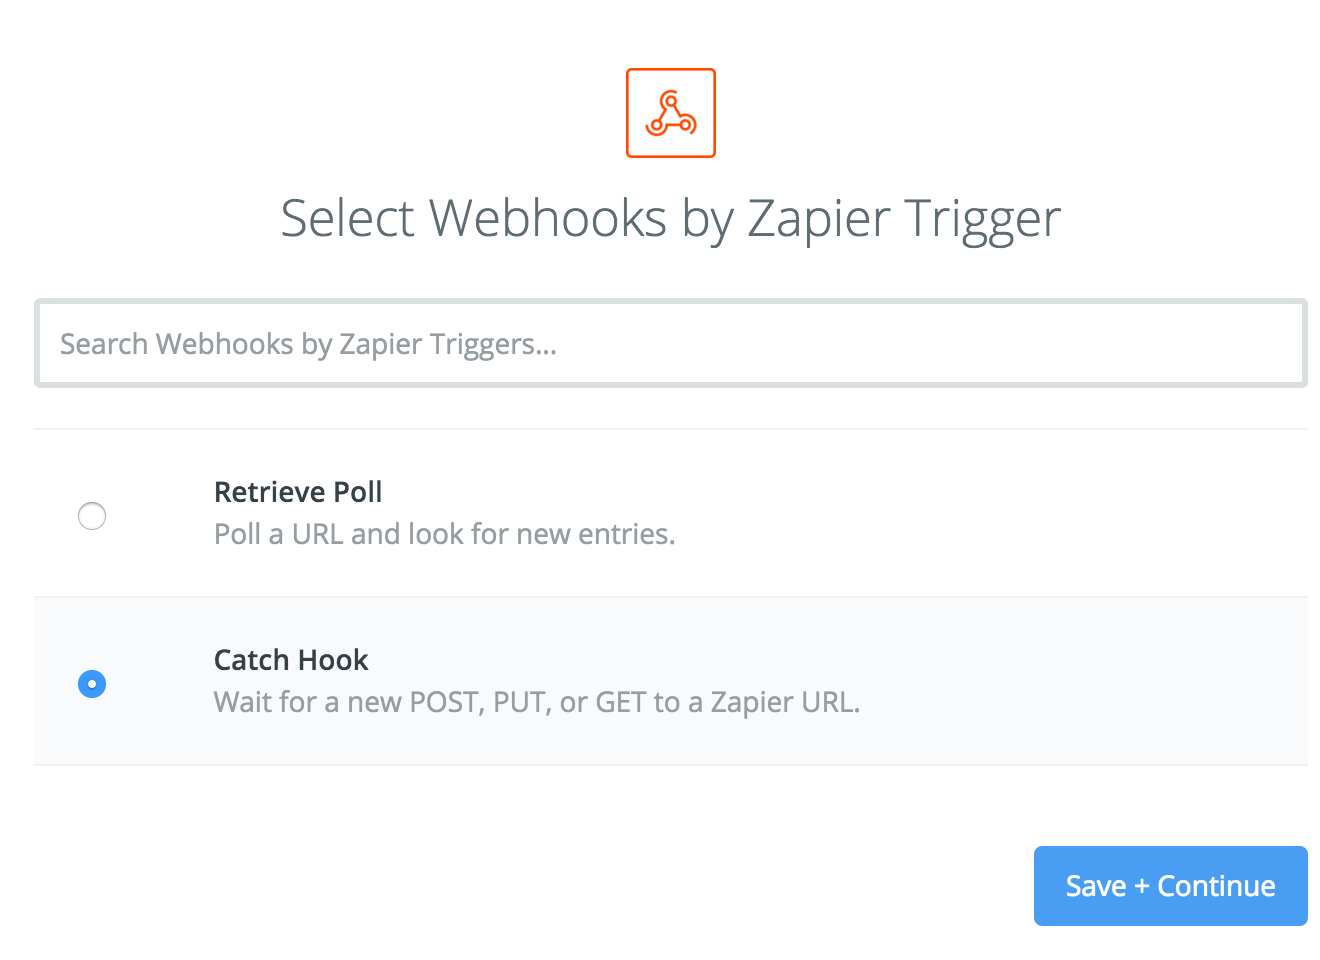
The first thing you do is to create a new Zap in Zapier. When you are asked to select a trigger, choose the Webhooks trigger with the "Catch Hook" option as shown below. Click "Save and Continue".
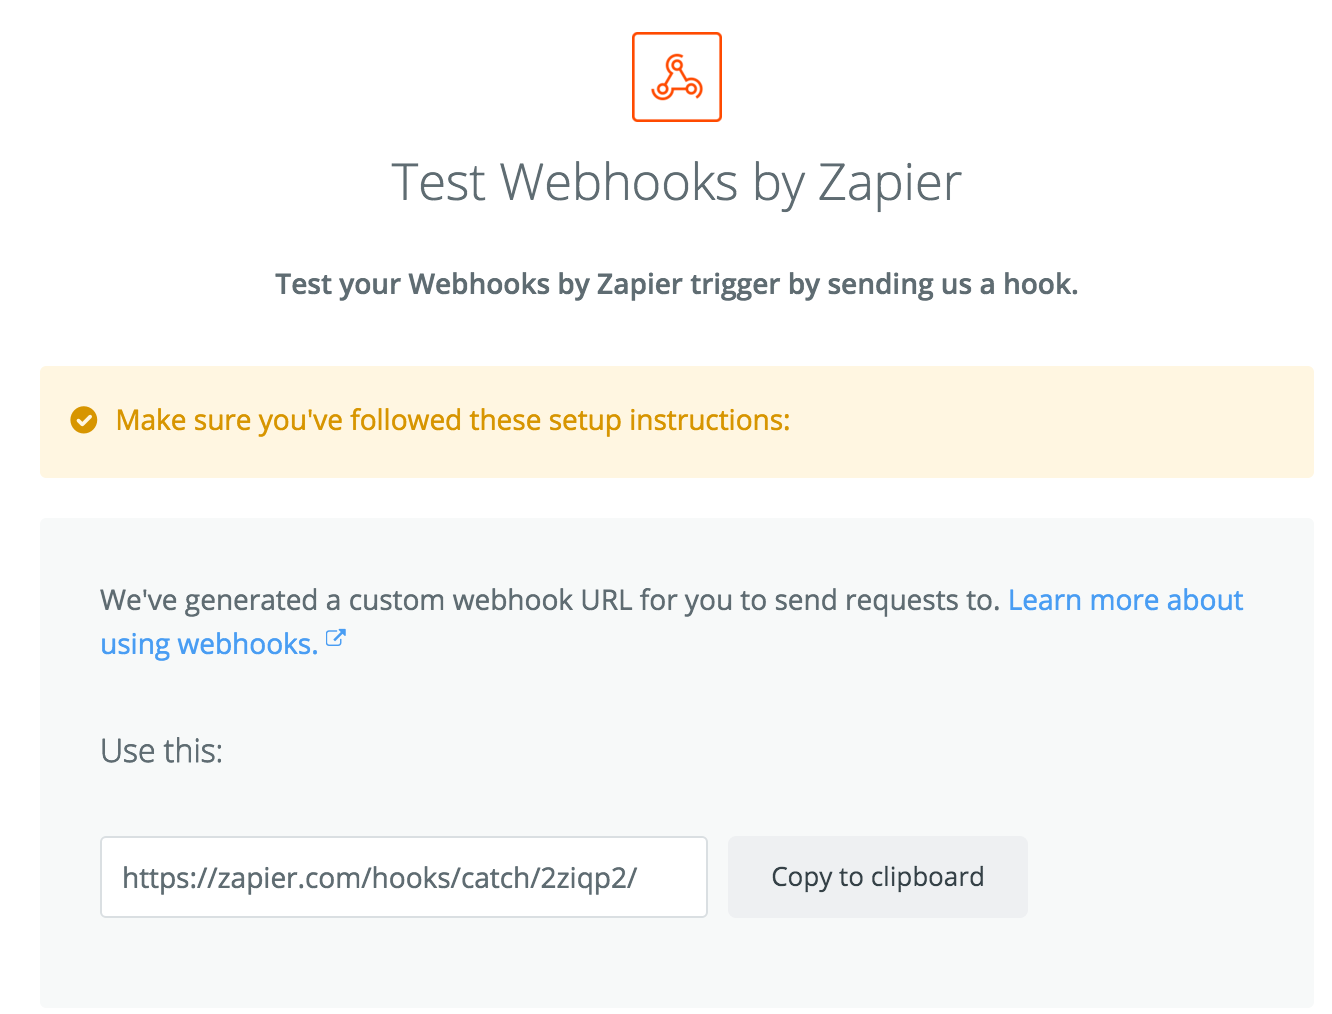
Copy the URL you get to the clipboard.
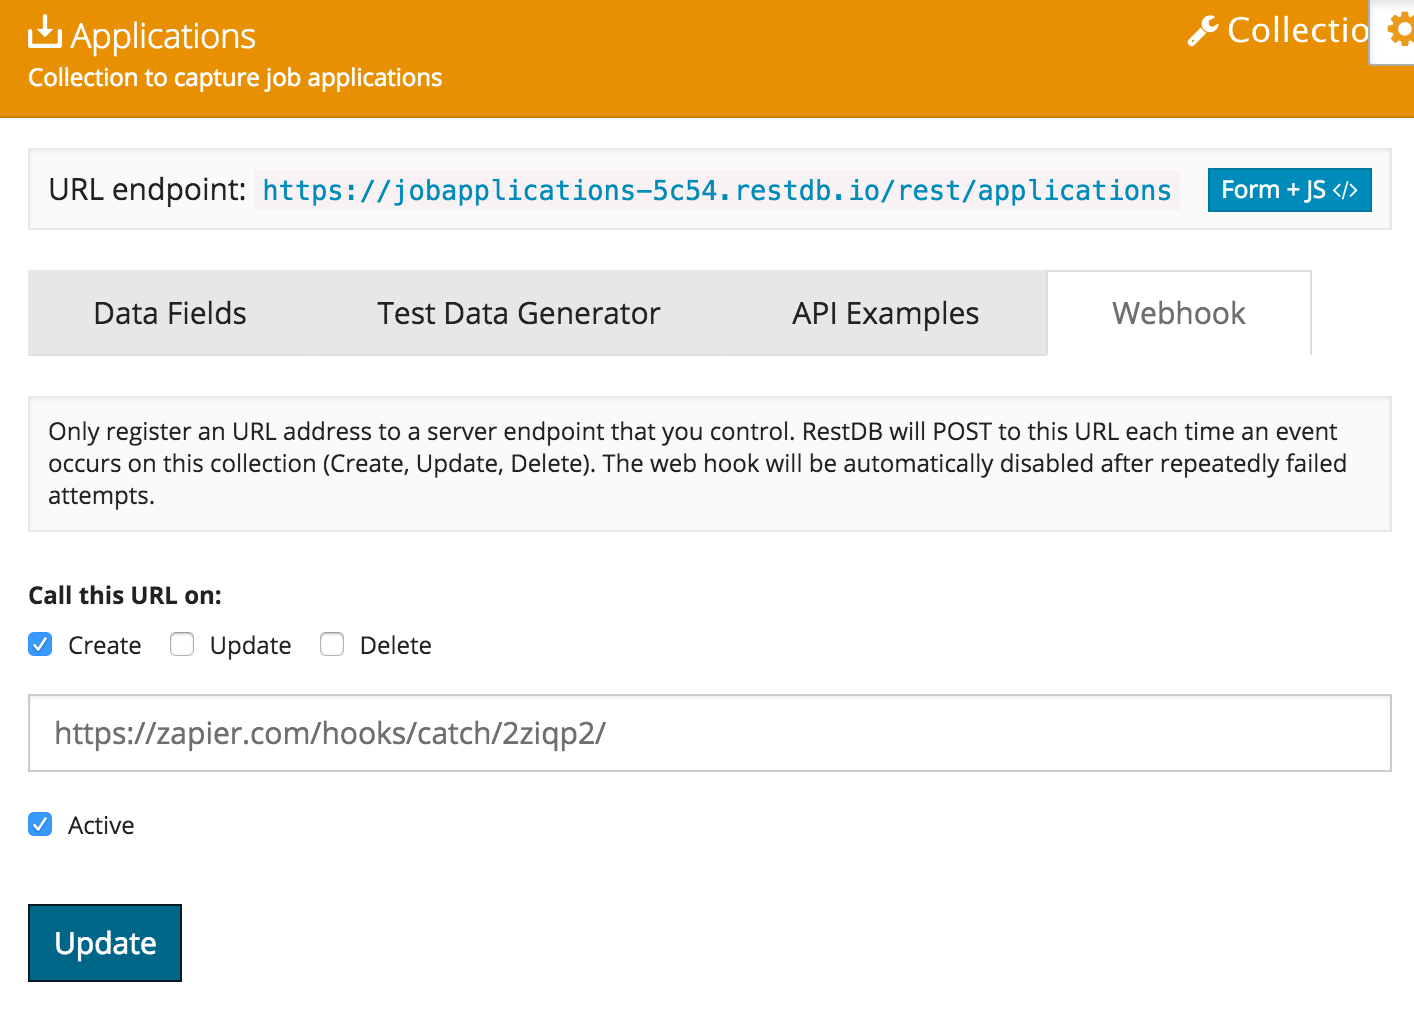
In "Developer Mode" inside your restdb.io collection, go to the "Webhook" tab and paste in the URL from Zapier. Remember to tick off the "Create" and "Active" check box. Update the settings.
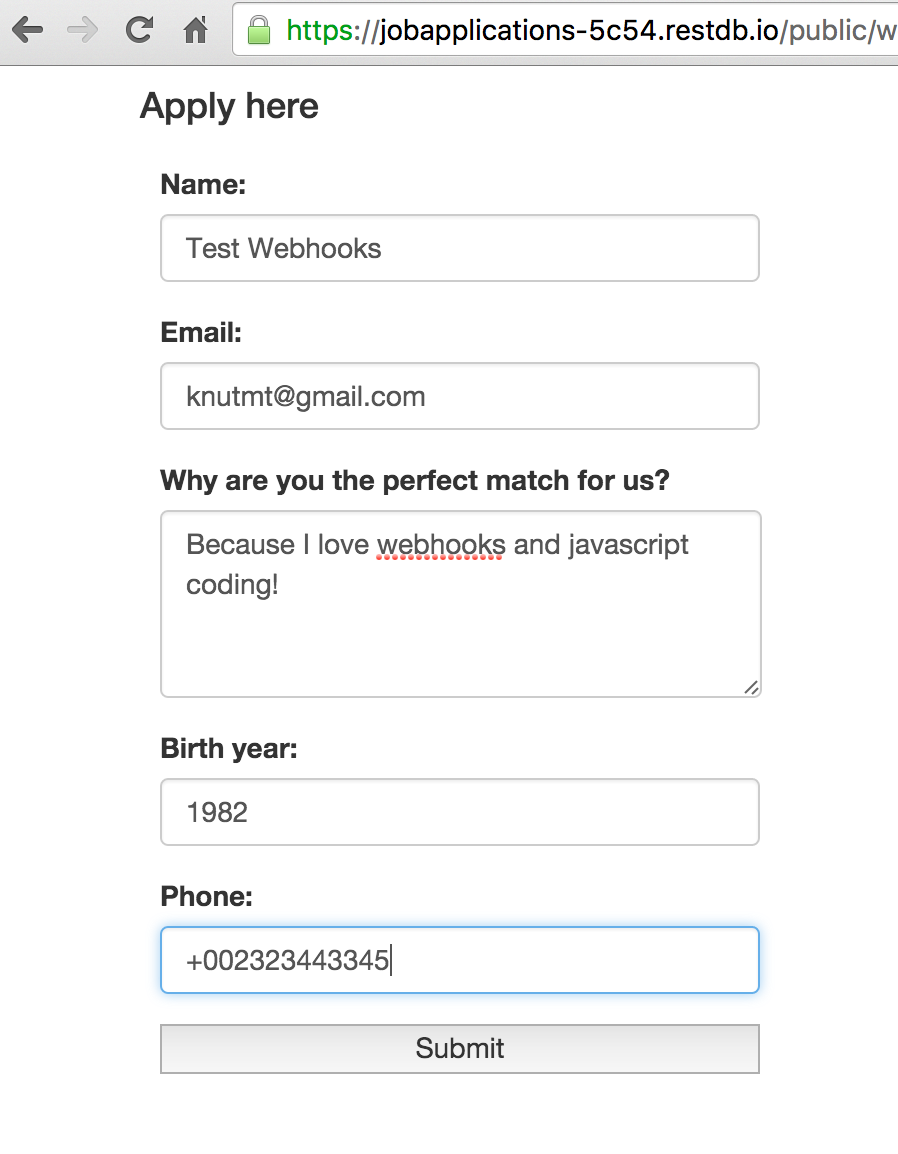
Activate a web hook call by either submitting a web form that posts to the collection or simply by creating a new record in the "applications" collection. For this demo, I created a public restdb.io Page (hosted in the database) instead of hosting the form in a CMS page somewhere.
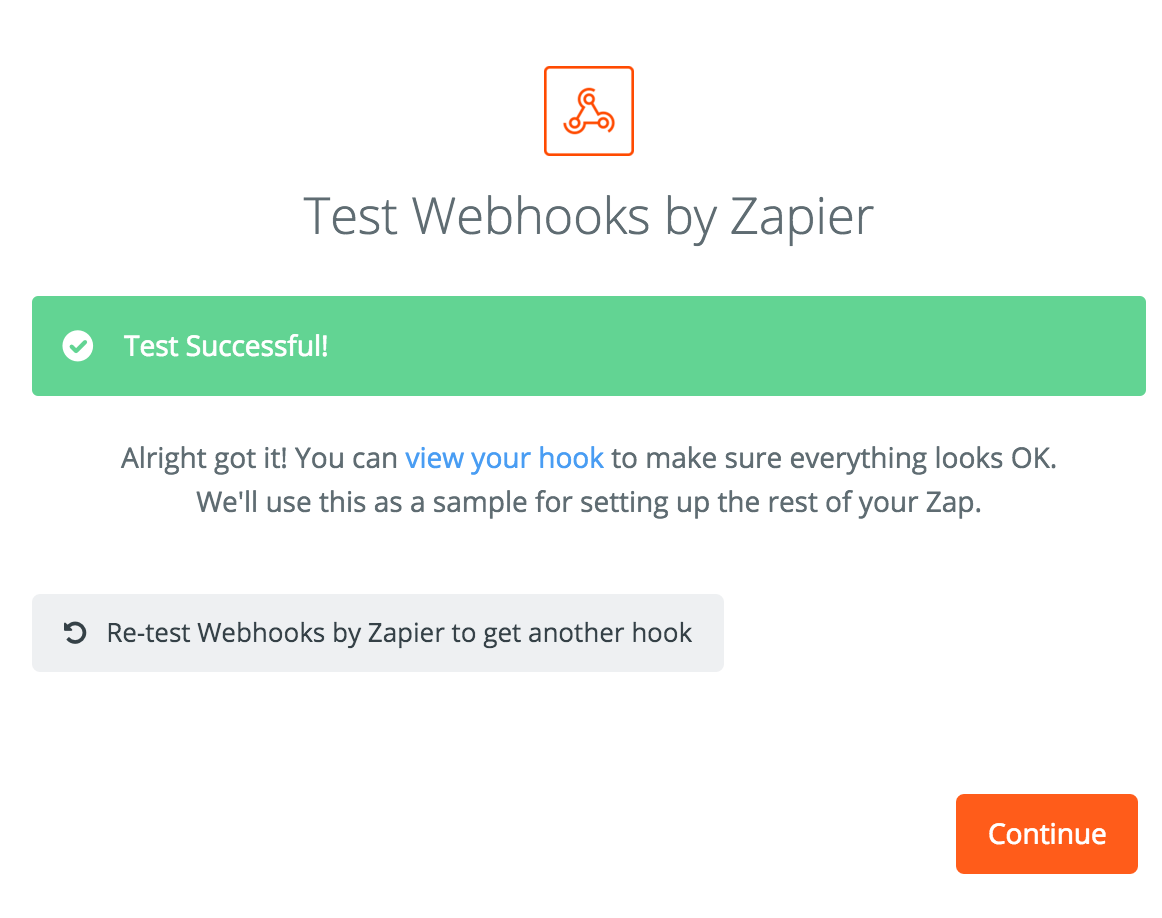
If Zapier successfully receives the webhook call, you will get a confirmation inside your Zapier account.
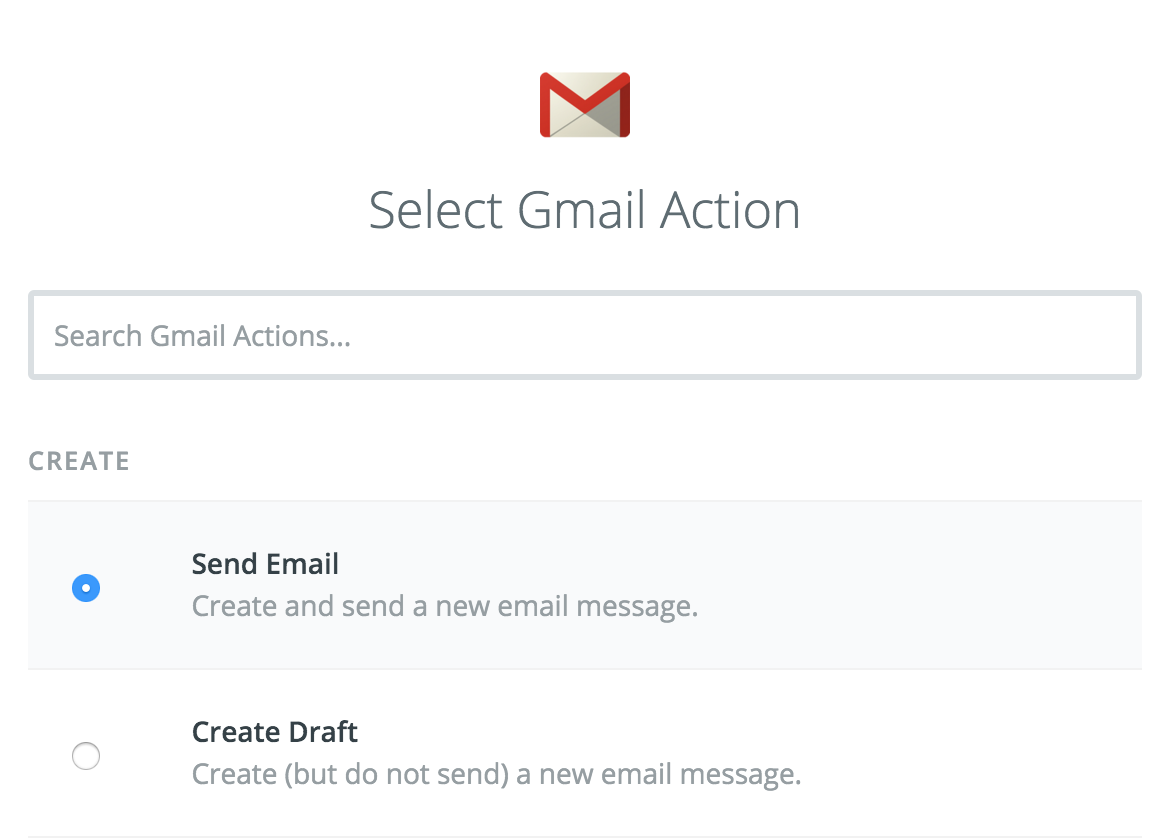
Next step is to set up the Action of the Zap. We select the Gmail "Send Email" action.
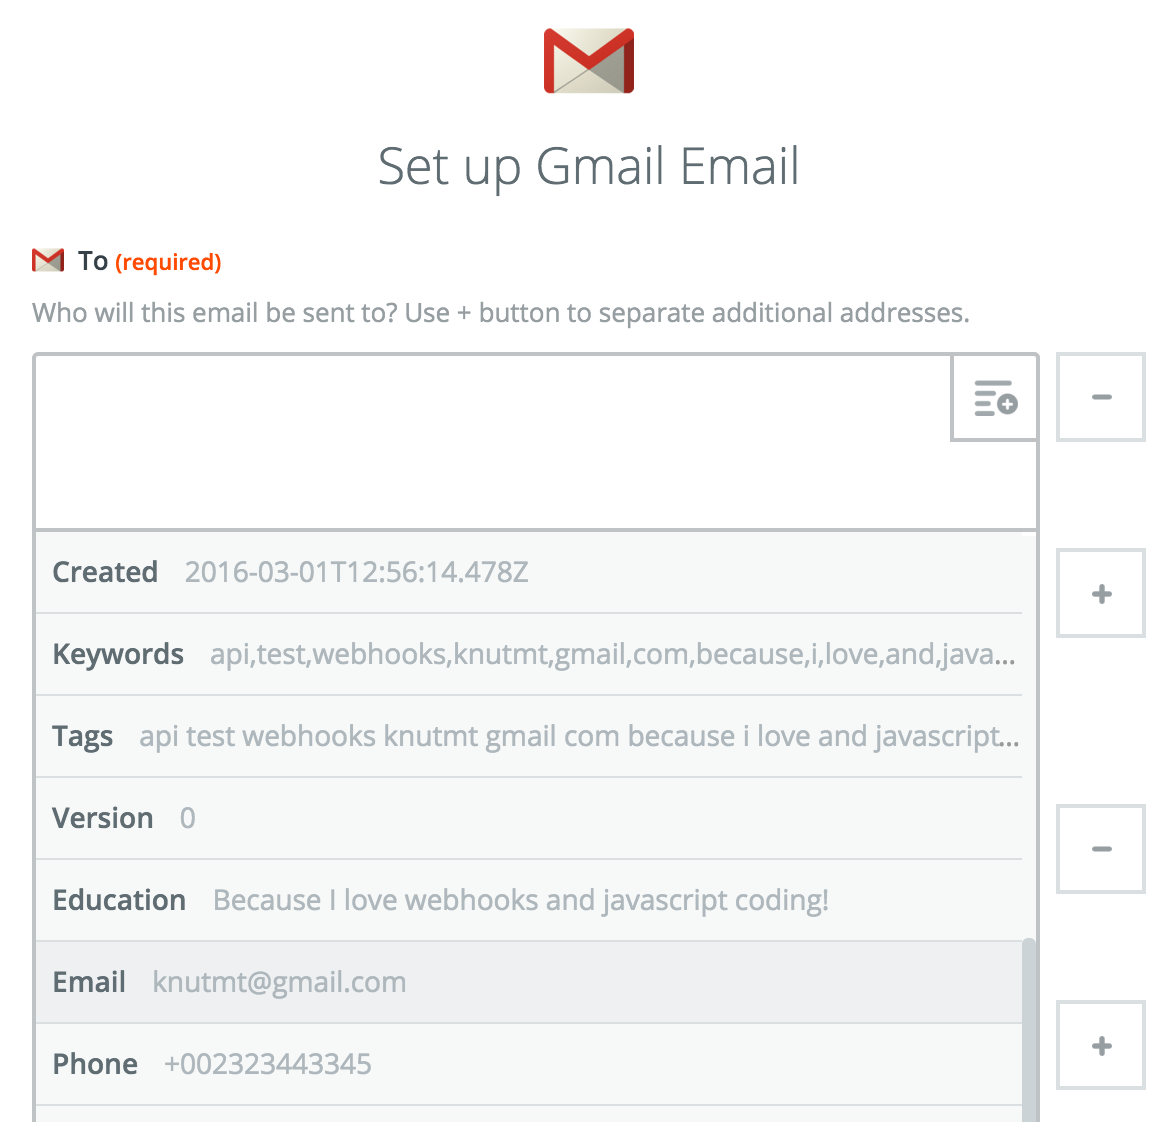
Now we map the fields from the restdb.io Webhook call into an email template.
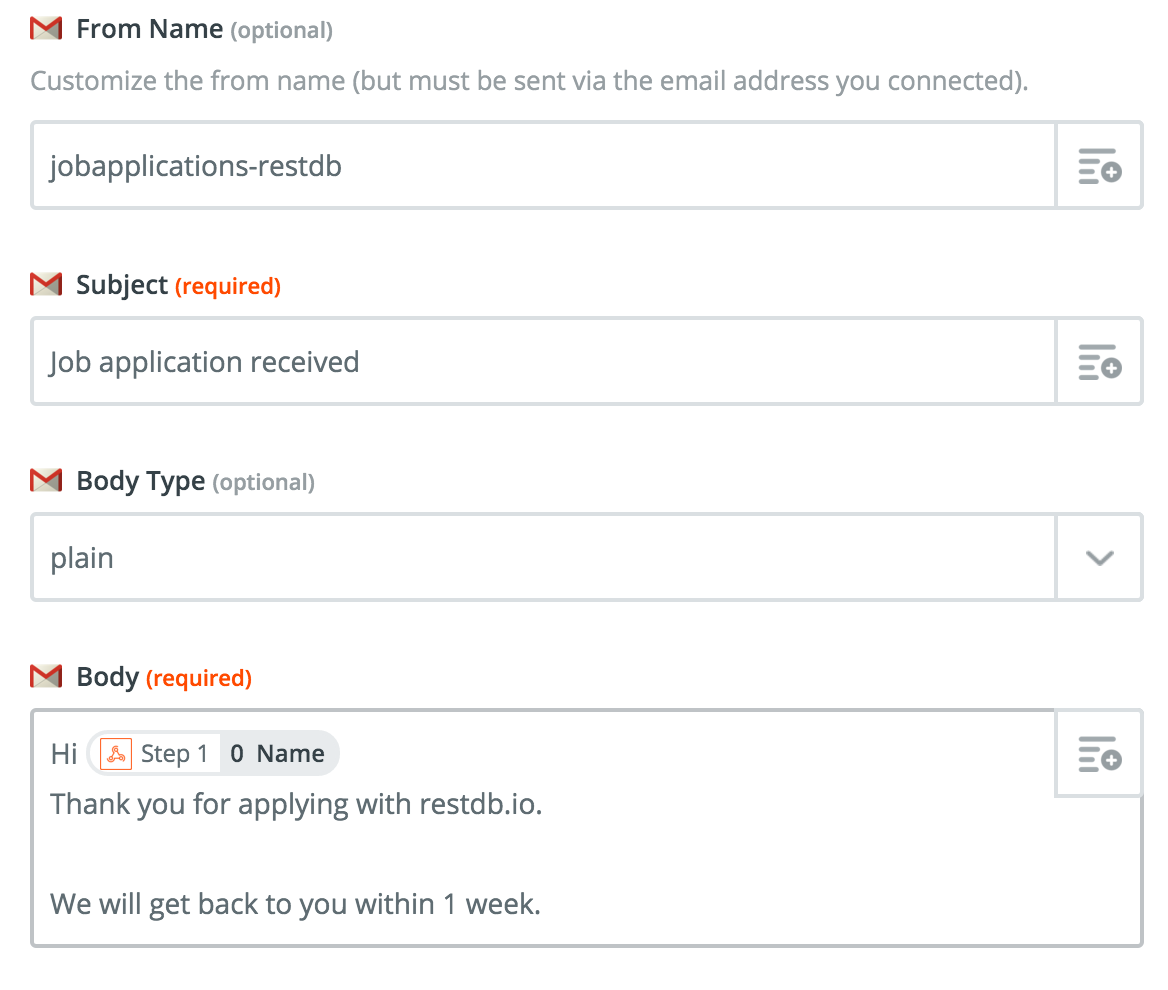
There are plenty of options for this integration. We'll make it simple and also set up BCC to our own email address (not shown here).
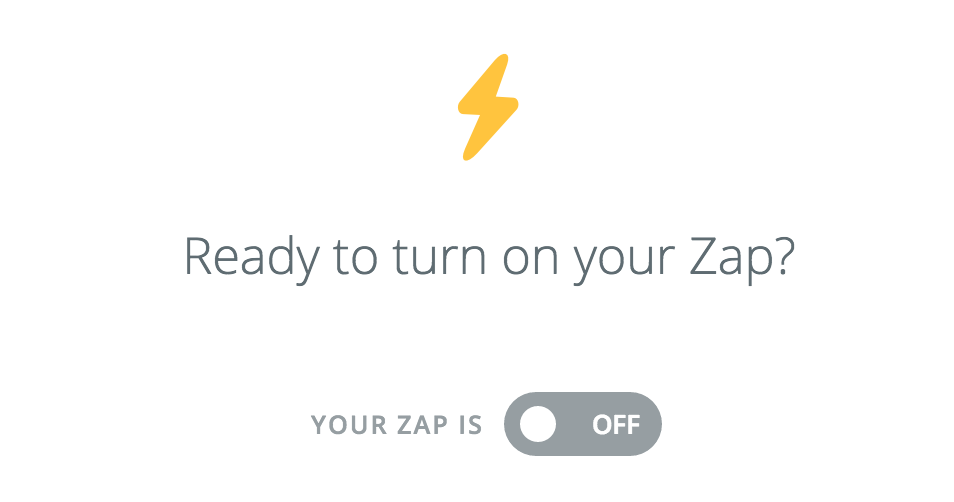
Finally we switch on the zap!
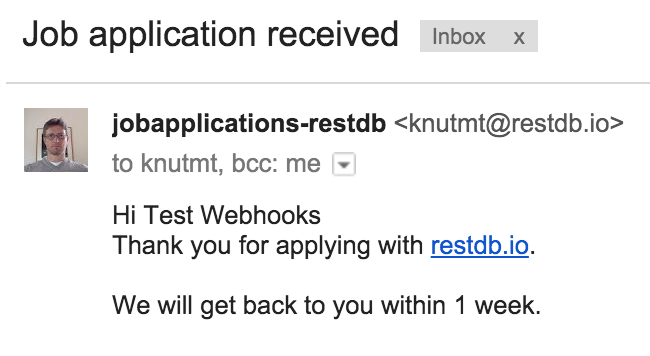
When we submit the form again, the applicant receives an email (and we get a BCC copy).
Conclusion
This is just one of the cool things you can do with Zapier and restdb.io webhooks. Feel free to contact me at knutmt@restdb.io if you have questions or want to share integrations you have done with restdb.io and Zapier (or similar services).


